Yana Skakun

Before and After Fitness Photography: Documenting Your Transformation
By Yana Skakun·10 July 2026·9 min read
Before and after fitness photography sits at an interesting intersection of documentary and portrait work. It is not simply about showing a slimmer waist or bigger shoulders next to an older, less developed version of the same body — done well, it is about honestly recording a period of real effort, and giving someone images they can look back on that mean something beyond the numbers on a scale. Clients come to me for this kind of session at very different points in their journey: some at the very start, wanting a genuine baseline rather than a phone photo taken in bad bathroom light; some midway through, wanting to mark real progress; and some at what feels like the end of a transformation, wanting a set of images that properly reflects months or years of consistent work.
This is a niche within fitness photography, and it is one I find genuinely rewarding to work on precisely because the emotional stakes are higher than most portrait sessions. A person standing in front of a camera to document their body is often more vulnerable than they are letting on, whatever their outward confidence. Getting the session right means understanding that, not just knowing how to light a physique.
Why Professional Before and After Photography Matters
Most transformation photos that end up online are taken on a phone, in a bathroom mirror, under mixed lighting, from an angle that flatters or unflatters almost at random. That is fine for a personal record, but it makes honest comparison difficult. If the "before" photo was taken under warm yellow bathroom light with the phone held at chest height, and the "after" photo is taken under a bright bathroom spotlight with the phone held higher, the comparison is partly showing lighting and angle rather than the body underneath. Consistency is the whole point of a before and after series, and consistency is exactly what a controlled, professional session gives you that a phone in a bathroom cannot.
Beyond the practical value of a clean comparison, there is a real motivational and documentary value to having these images done properly. People training for a specific goal — a competition, an event, a personal milestone, or simply a sustained period of better health — are putting in a genuinely significant amount of unseen work. Early mornings, meal prep, missed social plans, sore muscles, plateaus that feel demoralising at the time. A well-made set of images gives that effort a tangible form. It is also, frankly, useful for personal trainers, coaches, and fitness businesses who want authentic client results to show rather than stock imagery, provided the client has given clear permission for that use.
What to Expect During a Transformation Session
A before and after session is built around consistency rather than variety. Where a general fitness photography session might move through several settings, poses, and lighting setups to give a varied gallery, a transformation session deliberately narrows things down. I use a fixed camera position, a fixed lighting setup, a fixed distance from the subject, and a small, repeatable set of poses — usually a front-on stance, a side stance, and a back view, sometimes with a relaxed and a flexed variant of each. The point is that when we come back for the follow-up session in eight, twelve, or twenty weeks, we can recreate the exact same setup and produce a genuinely comparable image.
I photograph the reference points at the start of the session — camera height on a marked tripod position, lighting distances noted, background fixed — and keep those notes for every subsequent session with that client. This sounds like a small detail but it is the difference between a comparison that is scientifically fair and one that is subtly misleading. I would rather a client's progress be slightly less dramatic-looking but completely honest than exaggerated by inconsistent technique.
A typical session runs thirty to forty-five minutes, which is longer than the actual shooting requires but accounts for the practical realities: settling in, checking reference notes from a previous session if this is a follow-up, allowing a few minutes to warm up or get a slight pump if that is part of the client's preference, and reviewing a handful of images on the back of the camera partway through to make sure we are capturing what the client actually wants shown.
How to Prepare for Your Session
Preparation for a transformation shoot is more specific than for most portrait sessions, because the goal is an accurate, comparable record rather than the most flattering single image possible. I generally suggest scheduling the session at a consistent time of day relative to eating and training if you plan to repeat it later — for example, always in the late afternoon, a couple of hours after your last meal, rather than one session first thing in the morning and the next straight after a heavy lunch. Hydration and sodium intake in the day or two before a shoot genuinely affect how muscle definition reads on camera, so if this matters to you, it is worth being consistent about that too, rather than trying anything drastic and unfamiliar on shoot day itself.
Skin preparation is simple but effective: clean, moisturised skin holds light better than dry skin, which can look dull and uneven under direct lighting. A light, non-shiny moisturiser an hour or two before the session (not immediately before, which can leave skin looking greasy under studio light) is usually enough. I do not ask clients to use tanning products or oils unless that is already part of their own routine for competition-style shoots — I would rather photograph real skin honestly than manage an unfamiliar product reacting badly under lights.
If this is a follow-up session and not your first, try to recreate roughly the same conditions as your original shoot: similar time of day, similar state of hydration, similar sleep the night before if that is realistic. I keep detailed notes precisely so you do not have to remember every detail yourself, but the more consistent the conditions on your end, the more the comparison reflects genuine physical change rather than an off day or a good day.
Best Settings for Transformation Photography
Studio or a controlled indoor space with consistent, repeatable lighting is almost always the right choice for genuine before and after comparison work, and it is what I recommend for anyone serious about tracking change accurately over time. Outdoor or gym-based sessions can produce more atmospheric, editorial-feeling images, but daylight changes by the hour and by the season, and gym lighting varies wildly from one visit to the next, which works against the core purpose of a comparison series. I keep a simple, neutral background — usually a plain grey or white backdrop — specifically because it will not shift in colour or brightness between sessions the way a location might.
That said, for a client's final "after" set once the comparison work is done, I am very happy to shoot a second, more expressive set in a gym environment or outdoors, with more dynamic lighting and a wider range of poses and angles. This gives you both the honest, comparable record and a set of genuinely striking images to use for your own purposes, whether that is a personal milestone, social media, or a portfolio for coaching or competition work.
Planning a transformation series
If you are training towards a specific goal and want an honest, consistent record of your progress, it is worth booking your first session as early as possible — even before you feel "ready". A genuine baseline is what makes the whole series meaningful. I keep detailed setup notes for every client so follow-up sessions stay fairly and accurately comparable, however long the gap between them.
Get in touchTips for Getting Results You Will Actually Be Proud Of
The single most common mistake I see people make with before and after photography is waiting too long to start, out of a feeling that the "before" state is not worth documenting. It nearly always is. A genuine starting point, photographed properly, gives every later comparison its real meaning, and clients who skip that first session almost always regret it once they are a few months into training and wish they had something honest to compare against.
The second most common issue is inconsistency between sessions — different lighting, different time of day, different pose, different camera angle — which makes the comparison unreliable even when real progress has happened. This is exactly why I use fixed reference notes and, wherever possible, book follow-up sessions with the same setup as the first. If you are working with a different photographer for a follow-up shoot, ask for the original photographer's setup notes if you can, or at minimum try to replicate the pose, distance, and lighting angle as closely as possible.
It is also worth thinking honestly about what you want the images for before the session, because that shapes how I shoot it. A client wanting purely personal, private documentation needs a different approach from a client who wants to share progress on social media, and a different approach again from a personal trainer wanting client-result imagery for marketing (which requires clear written permission and a proper release, something I always sort out before any images are used beyond personal delivery). Being upfront about the intended use means the session, the edit, and the delivery format are all set up correctly the first time.
Editing: What Honest Before and After Photography Looks Like
My editing approach for transformation work is deliberately restrained. I correct exposure and colour so the two (or more) images in a comparison actually match each other fairly, remove genuinely distracting elements like stray background clutter, and do basic retouching consistent with what I would do for any portrait session — nothing that reshapes the body itself. The entire value of a before and after series rests on it being an honest record. If the editing quietly changes the body shape in the "after" image beyond what training actually achieved, the comparison stops meaning anything, and that undermines exactly the thing the client came to me to document.
Where clients want a more polished, editorial single image alongside the honest comparison set — for a personal milestone or portfolio piece, for instance — I am happy to do a second, more stylised edit of the "after" photographs specifically, kept clearly separate from the comparison pair. That way you have both: the fair, unembellished record of your progress, and a genuinely striking final image to be proud of.
Frequently Asked Questions
Do I need to already be "in shape" to book a session? No — quite the opposite. The most valuable before and after series start with an honest baseline, whatever stage you are at. I have photographed complete beginners on day one of a programme just as often as people close to a competition or event.
How long should I wait between the before and after sessions? This depends entirely on your goals and the pace of realistic change, but most clients find eight to sixteen weeks gives a visible, meaningful difference without waiting so long that motivation dips in between. Some clients book quarterly sessions across a full year to track a longer journey.
Can I bring my trainer or coach to the session? Yes, and it is often genuinely useful — a coach who knows your training history can help make sure the poses and angles show the specific changes that matter for your goals.
Will the images be shared anywhere without my permission? No. Every session I shoot is for the client's private use unless we agree in writing on a specific alternative use, such as a trainer using anonymised or named client results in their own marketing with explicit consent.
For a broader look at how a fitness-focused session works day to day, my fitness photography page covers general session formats, and if personal branding for your coaching or training business is part of what you need, my personal branding photography work may be a useful complement to a transformation series. Current session rates and package options are on my pricing page, and you can read more about my approach to portrait work generally on the about page.
Before and after fitness photography, done properly, is one of the more meaningful kinds of portrait work I get to do — a genuine, honest record of effort and change over time, made with care rather than exaggeration. Yana Skakun Photography is based in Cambridge and available for sessions across the UK. If you are starting a training programme, midway through one, or looking back at a journey you want documented properly, get in touch and we can talk through a plan that fits your goals and timeline.
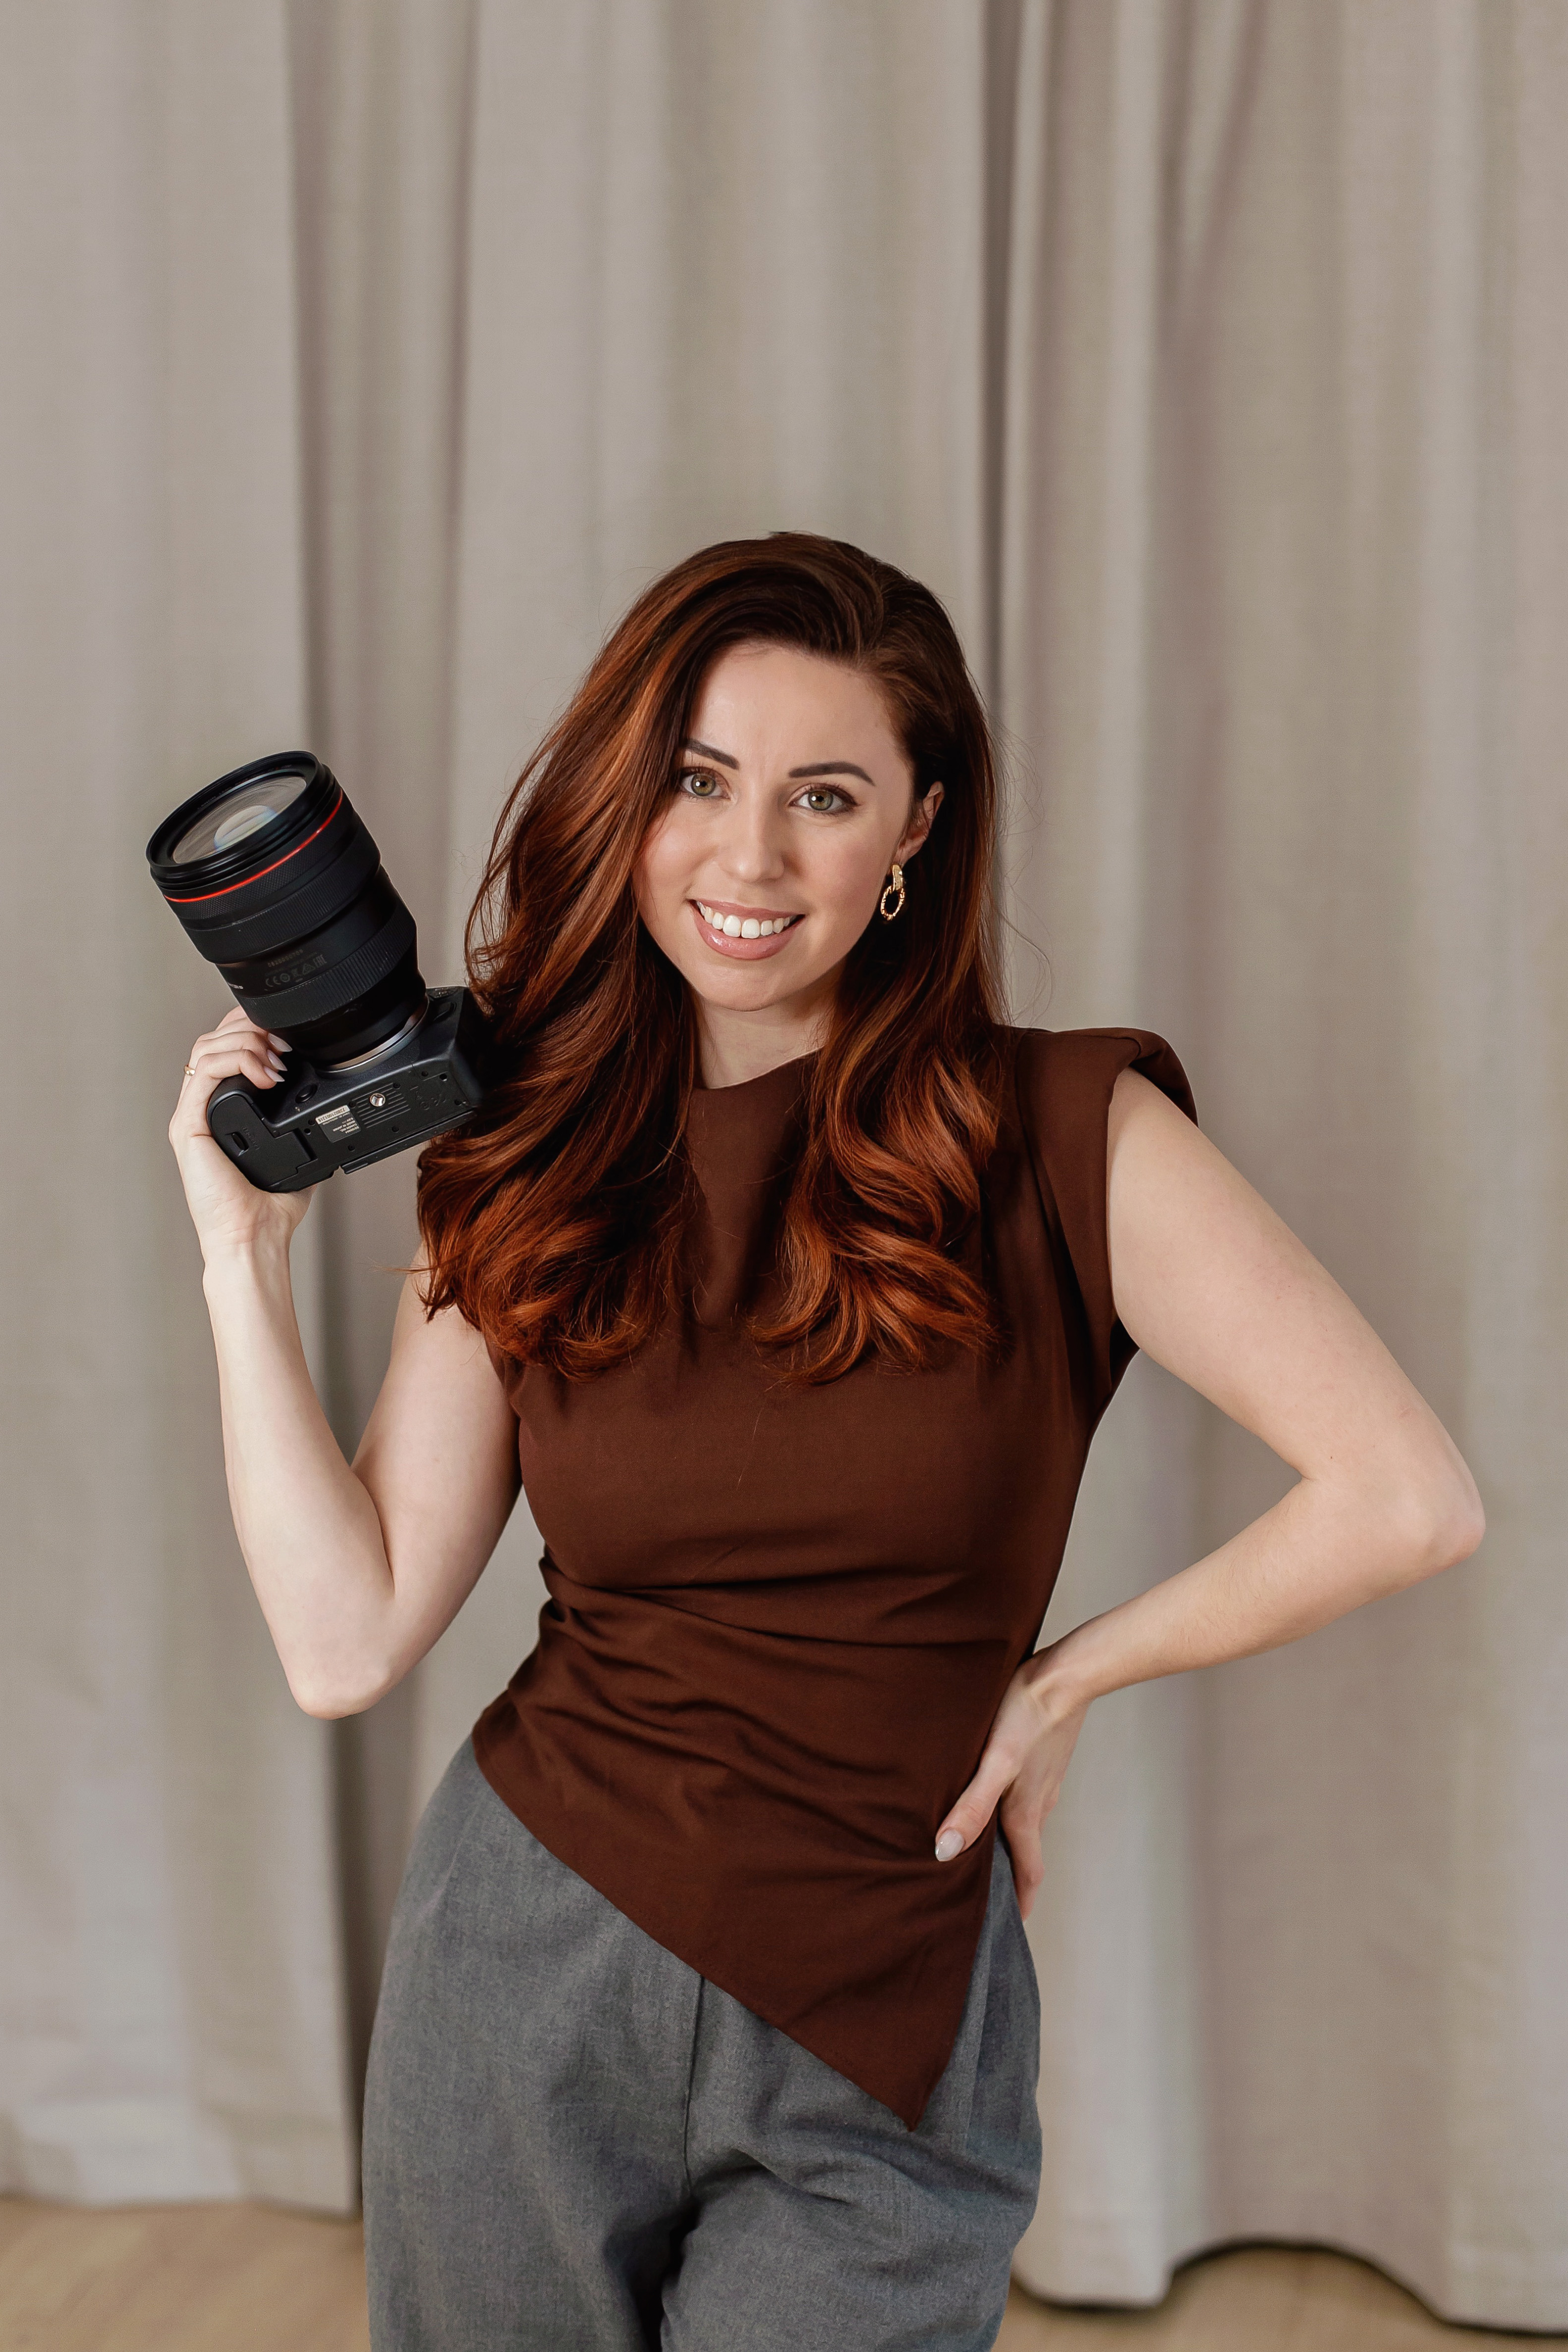
Yana Skakun
Photographer · England
Professional wedding, family and portrait photographer based in England. Passionate about capturing authentic emotions and timeless moments.
About Yana →before after fitness photographytransformation photographyfitness photography Cambridgebody transformation photosprogress photos professionalgym photo shoot
Portrait Tips — Portrait Photography in Cambridge & England
Portrait sessions with Yana Skakun are unhurried and personal — designed to produce images that feel genuinely like you, not a performance. Sessions are available in Cambridge, across East England, and at locations throughout the UK. This guide — Before and After Fitness Photography: Documenting Your Transformation — is part of the photography journal: practical, experience-based advice drawn from real sessions across England. Whether you arrived searching for before after fitness photography or transformation photography, the same care and attention shapes every session Yana photographs.
Portrait Photography sessions are available year-round, with bookings open across Cambridge, Ely, Huntingdon, Peterborough, and further afield — East England, London, the Midlands, and beyond. If you have specific questions about fitness photography cambridge, mention it in your enquiry. Get in touch through the contact form above to check availability and discuss your session. Enquiries are welcomed from anywhere in the UK.
Frequently Asked Questions
How do I look natural in portrait photos?+
The key is to keep moving — walking, talking, laughing. Still poses often look stiff. A good portrait photographer will direct you gently rather than just pointing and shooting. Take a breath, drop your shoulders, and try to focus on something that makes you happy rather than worrying about how you look.
What should I wear for a portrait session?+
Wear something you feel good in — not something borrowed or brand new that you haven't worn before. Solid colours photograph better than busy patterns. Bring a second outfit for variety. Think about the location: flowing fabrics work beautifully outdoors; tailored looks suit urban settings.
How long does a portrait session take?+
Standard portrait sessions last 60–75 minutes. This allows enough time to warm up, try different locations and poses, and explore a couple of looks without rushing. If you're very camera-shy, a longer session helps — the more relaxed you become, the better the final images.
What locations are best for outdoor portrait photography?+
Gardens, parks, riverside paths, woodland, and areas with interesting architecture all make great portrait backgrounds. The most important factor is light — a location with open shade or soft directional light will always photograph better than a technically beautiful spot in harsh midday sun.
What is the difference between a portrait session and a headshot session?+
Portrait sessions focus on you as a whole person — full-body, three-quarter, and close-up images in a relaxed, often outdoor setting. Headshot sessions focus specifically on professional or actor headshots: face and upper body, often in a controlled setting with consistent, professional lighting.
Continue Reading
Related Articles

Portrait Tips
Glasses and Glare in Photography: How to Get Great Results
6 min read · Read Article
Portrait Tips
Fake Tan Before a Photoshoot: Timing, Application, and What Can Go Wrong
6 min read · Read Article
Portrait Tips
Hair and Makeup for a Photoshoot: What Photographs Well
7 min read · Read Article
Get in Touch
Ready to Book Your Session?
Get in touch to discuss your vision — I'll reply within 24 hours.