Yana Skakun
Behind the Scenes: What a Brand Photography Day Looks Like
By Yana Skakun·15 July 2026·7 min read
Most people who book their first personal brand photography session have never done anything like it before. There is no wedding-day script to follow, no obvious dress code, no cultural shorthand for what happens between arriving and going home with a memory card's worth of images. What I hear most often on planning calls is a version of the same worry: "I don't really know what to do in front of a camera." This is a walkthrough of what an actual full-day brand session looks like from the inside, hour by hour, so that by the time you arrive you are thinking about the work rather than the process.
Before the Day: The Planning Call
One to two weeks before the session, we have a call to go through everything that needs deciding before we ever pick up a camera. This is not a box-ticking formality — it is the single biggest factor in whether the day runs smoothly. We talk through your shot list, confirm the locations, work out outfits, and go over a mood board of images you are drawn to, so I understand the visual language you want rather than guessing at it on the day.
The shot list conversation is where I ask you to think in categories rather than a vague list of "nice photos." Headshots are the tightly framed, direct-to-camera images used for LinkedIn, speaker bios, and press. Working shots show you doing the actual thing you do — at a laptop, mid-conversation, holding a product, in front of a whiteboard — and they tend to be the images that get the most engagement because they carry information as well as likeness. Lifestyle shots are looser and more environmental: walking into a building, having coffee, laughing with a colleague, and they are what makes a brand feel human rather than corporate. Detail shots — hands on a keyboard, a notebook, the tools of your trade — are the ones people forget to ask for and then wish they had, because they are what fills the gaps in a website or a pitch deck without needing another portrait of your face.
I also ask what platforms the images need to work for, because a square Instagram crop and a wide website banner and a vertical Stories frame all want slightly different compositions, and it is far easier to shoot with that in mind than to crop awkwardly afterwards. And I ask which shots are the highest priority, because on a long day with a lot of ground to cover, knowing what absolutely cannot be missed means we can protect that time even if something else runs over.
Choosing Locations and Planning Outfits
Most full-day sessions use two locations, and the logic behind picking them matters more than people expect. The first is usually the anchor: your actual workspace, a studio, an office, or wherever the core of your business happens. It is the setting that will carry your headshots and your primary working shots, so it needs good natural light and enough visual interest that the background does not go flat and dead behind you. The second location is chosen deliberately to contrast with the first — if the first is indoors and formal, the second is often outdoors or more relaxed; if the first is a clean, minimal office, the second might have texture, warmth, or movement. That contrast is what stops a full day of images looking like one long, repetitive set.
Outfits follow the same logic as locations: variety with a purpose, not variety for its own sake. I usually recommend two to three outfit changes across the day, planned around the mood and formality of each location rather than picked at random. A structured blazer might suit the anchor location and the headshots, while something softer and more casual suits the second, more lifestyle-driven set. Solid colours photograph more cleanly than busy patterns, and it is worth avoiding anything with a logo or text unless that branding is the point of the image. I also ask clients to bring one backup outfit even if we only plan to use two, because it is far better to have an option sitting in the car than to wish for one halfway through the day.
The mood board pulls all of this together. It is not about copying someone else's photographs — it is a shorthand for tone. Warm and approachable reads very differently to sleek and editorial, and rather than trying to describe that difference in words on a phone call, a handful of reference images lets us agree on a direction before the day even starts, which means far less second-guessing once we are on location.
Morning: Arrival and the First Location
The first thirty minutes of any session are spent settling in, and I treat that time as essential rather than as overhead to rush through. There is a location check, gear setup, and simply talking — about your business, your week, anything except the fact that a camera is about to be pointed at you. This matters more for brand photography than almost any other genre, because the client is very rarely a natural performer in front of a lens. Business owners are used to being competent, articulate, in control — and then a camera appears and all of that confidence can evaporate in the space of a few seconds. Nobody looks relaxed in the first five minutes of being photographed, no matter how experienced they are, so a good photographer treats the warm-up as part of the actual work of the day, not a delay before the real work begins. By the time I start shooting in earnest, most people have stopped thinking about their face and started thinking about the conversation, which is exactly the point.
The first location typically runs for sixty to ninety minutes and carries the bulk of the priority shot list. This is usually the anchor setting agreed on the planning call, and because it is the most important set-up of the day, I work through it methodically rather than rushing to cover ground. We start with the more structured images — headshots, direct-to-camera portraits — while everyone's energy and attention are freshest, and then move into working shots as the session settles into its rhythm. Rather than asking anyone to simply pose and smile, which almost always produces a stiff, self-conscious expression, I give small directed actions instead: type something, pick up the phone, walk from one side of the room to the other, glance up as if someone has just walked in. These mini-actions give the body something real to do, which relaxes the face and produces expressions that look like they were caught rather than arranged. A person mid-motion, even a small motion, photographs as far more natural than the same person standing still and told to look happy.
A note on feeling awkward in front of the camera
Almost every client tells me at some point in the planning call that they are not photogenic or that they hate having their photo taken. In practice this has very little bearing on how the images turn out. The warm-up period, the directed prompts, and the pacing of the day are all built specifically around getting past that discomfort, and it works far more reliably than most people expect going in.
Get in touch about a brand sessionAfternoon: Outfit Change, Second Location, and Wrap
Between the two main locations there is a built-in gap of fifteen to twenty minutes for travel or an outfit change. It is tempting to see this as dead time, but it is planned into the day deliberately, and it does real work: it gives everyone a natural pause, a chance to check messages or catch their breath, and a reset before moving into a different setting and a different energy. Sessions that try to skip this gap tend to feel rushed by the second half, and it shows in the images.
The second location, usually another sixty to ninety minutes, is where the most naturally expressive images of the day tend to come from. By this point, most of the self-consciousness from the first thirty minutes has worn off entirely — you have been photographed for over an hour, you have seen a few frames on the back of the camera, and you have a much better sense of what works. If the first location was formal, the second is often more relaxed: outdoors, a coffee shop, a walk, somewhere the lighting and setting invite genuine movement rather than composed stillness. This is where lifestyle shots and the more candid working images tend to live, and clients are often surprised to find these are the images they end up using most.
The last twenty to thirty minutes of the day are for wrapping up: a final check against the shot list from the planning call, and time to catch anything that got missed earlier. I will often do a quick review on the back of the camera at this point, partly to confirm the key priority shots are genuinely covered before we call it a day, and partly because seeing a few strong frames tends to send people home feeling good about the whole experience rather than wondering what they will end up with.
After the Session: Selection, Editing, and Delivery
A full day of brand photography produces a genuinely large number of frames — often several thousand across two locations and multiple outfits. Before full editing begins, there is a selection or culling stage, where I go through the full contact sheet and narrow it down to the strongest, most usable images: the ones that are sharp, well-expressed, and free of the in-between moments every shoot produces between the good frames. Depending on how the session was booked, you may also get a favouriting round of your own, picking out anything you specifically want prioritised from a wider gallery before final editing locks in.
Editing typically takes two to three weeks. Once it is finished, you receive a private online gallery with full-resolution downloads, generally holding somewhere between eighty and one hundred and fifty edited images from a full-day session — enough genuine variety across both locations and every outfit that you are not stretching six similar headshots across a year of content, but not so many that choosing what to post becomes its own chore.
Once the gallery is delivered, the images are yours to use across your website, LinkedIn, press materials, pitch decks, and social platforms, and having that range of headshots, working shots, lifestyle images, and detail shots from a single day means you are not scrambling for a usable photo every time a new use case comes up. Most clients find that a well-planned full-day session covers them for the better part of a year before they need to think about updating their brand imagery again.
A brand session works best when the planning happens properly beforehand and the day itself is allowed to breathe — warm-up included, gaps included, no part of it rushed for the sake of covering more ground. If you would like to talk through what a full-day or half-day session would look like for your business, in Cambridge, London, or anywhere across the East of England, get in touch and we can start with a planning call of our own.
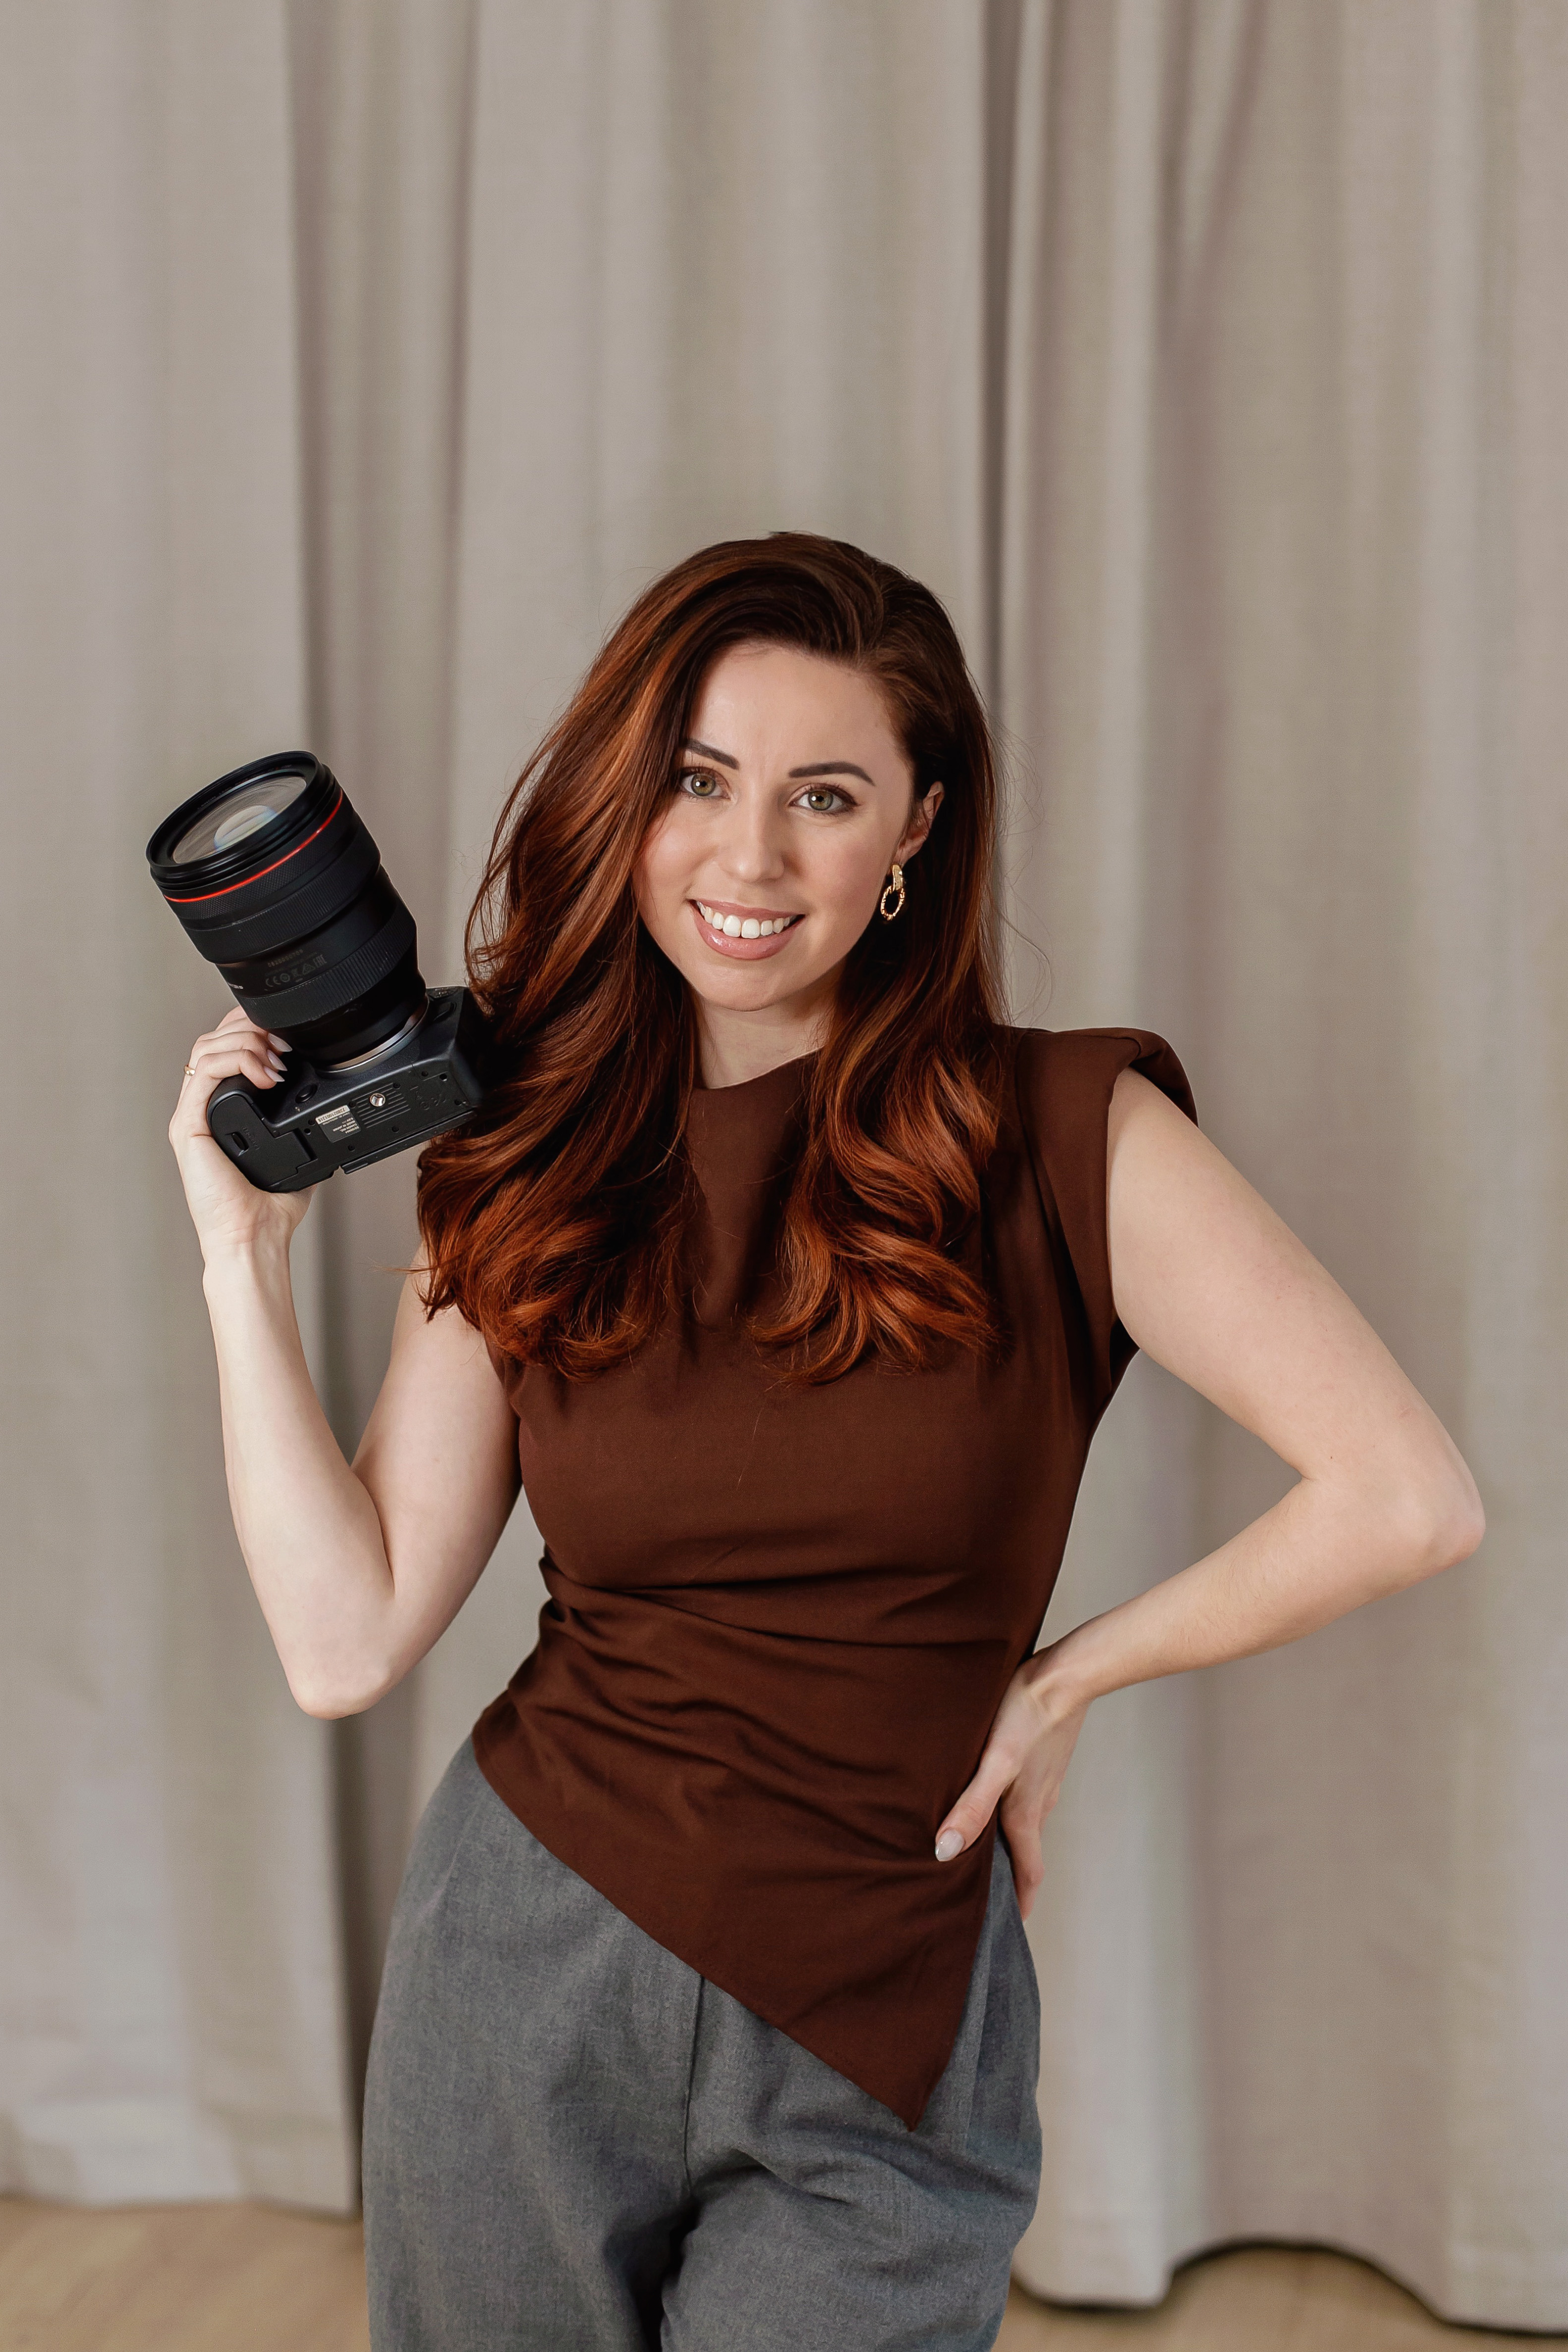
Yana Skakun
Photographer · England
Professional wedding, family and portrait photographer based in England. Passionate about capturing authentic emotions and timeless moments.
About Yana →brand photography day behind sceneswhat happens brand photography sessionbrand shoot walkthrough ukpersonal branding photography process
Photography Tips — Professional Photography in Cambridge & England
Yana Skakun is a professional photographer based in Cambridge, specialising in wedding, family, and portrait photography across England. Every session is personal — planned around your story, your people, and the moments that matter most. This guide — Behind the Scenes: What a Brand Photography Day Looks Like — is part of the photography journal: practical, experience-based advice drawn from real sessions across England. Whether you arrived searching for brand photography day behind scenes or what happens brand photography session, the same care and attention shapes every session Yana photographs.
Professional Photography sessions are available year-round, with bookings open across Cambridge, Ely, Huntingdon, Peterborough, and further afield — East England, London, the Midlands, and beyond. If you have specific questions about brand shoot walkthrough uk, mention it in your enquiry. Get in touch through the contact form above to check availability and discuss your session. Enquiries are welcomed from anywhere in the UK.
Frequently Asked Questions
What camera settings should I use for outdoor portraits?+
For outdoor portraits, shoot in aperture priority mode. Use a wide aperture (f/1.8–f/2.8) to blur the background and isolate your subject. Keep ISO as low as possible in good light. In bright conditions, use a neutral density filter or switch to manual to avoid overexposure at wide apertures.
What is the golden hour in photography?+
Golden hour is the period roughly 30–60 minutes after sunrise and before sunset. The sun is low in the sky, producing warm, soft, directional light that flatters skin tones and creates beautiful long shadows. It's widely considered the best natural light for portrait and outdoor photography.
How do you get sharp photos in low light?+
In low light, increase your ISO (accepting some grain), use the widest aperture your lens allows, and slow your shutter speed to the slowest you can hand-hold without camera shake (roughly 1/focal length as a guide). Use image stabilisation if available, and consider a tripod for static subjects.
What is the rule of thirds in photography?+
The rule of thirds divides the frame into a 3×3 grid. Placing your subject on one of the four intersection points — rather than dead centre — creates a more dynamic, visually interesting composition. It's a guideline, not a rule: some of the most powerful images break it deliberately.
How do you edit photos to look professional?+
Professional editing starts with shooting in RAW format. In Lightroom or similar software, correct exposure, white balance, and contrast first. Recover shadow and highlight detail. Apply gentle colour grading for mood. Be conservative with skin retouching — the goal is natural enhancement, not transformation. Consistency across a set of images is what separates professional from amateur editing.
Continue Reading
Related Articles

Photography Tips
Photography Gift Vouchers: The Most Personal Present You Can Give
5 min read · Read Article
Photography Tips
Photo Books vs Photo Albums: What Is the Difference and Which Is Better?
5 min read · Read Article
Photography Tips
Photo Gift Ideas: Turning Professional Images into Meaningful Presents
5 min read · Read Article
Get in Touch
Ready to Book Your Session?
Get in touch to discuss your vision — I'll reply within 24 hours.