Yana Skakun

DJ Promo Photography: Building Your Brand Behind the Decks
By Yana Skakun·10 July 2026·8 min read
Every DJ I have ever photographed has, at some point in the conversation, said some version of the same thing: "my mixes are good, but my photos are letting me down." It is a more common problem than people outside the industry realise. A DJ can spend years developing a sound, building a following on streaming platforms, and honing a live set, and still be represented online by a blurry phone photo taken by a friend from the dancefloor, lit orange by a single overhead light, mid-blink. Promoters, festival bookers, and venue managers make fast visual judgements before they ever press play on a mix. DJ promo photography exists to make sure that first impression is doing you justice.
Why Promo Photography Matters More Than DJs Expect
A DJ's promo shot works harder than almost any other kind of professional photograph. It appears on line-up graphics next to a dozen other artists, where it needs to hold its own at thumbnail size. It gets cropped into a circle for social media, stretched across a festival poster, and dropped into a press release with almost no context. It is, in effect, the visual shorthand for your entire artistic identity, used by people who have never met you and are making a snap decision about whether you look like someone worth booking.
This is different from a typical portrait brief. A corporate headshot needs to say "trustworthy and competent." A DJ promo shot needs to say something much more specific: this is your sound made visible. A techno DJ who plays stripped-back, industrial sets and turns up to a shoot in a shot that looks like a wedding guest photo is sending the wrong signal before a single track has played. The image needs to match the genre, the energy, and the audience you are trying to reach, which means promo photography for DJs sits closer to brand photography than it does to conventional portraiture. If you have not worked with a photographer on this kind of visual identity before, it is worth reading a little about how brand photography approaches image, tone, and consistency across a body of work, because the same thinking applies directly to an artist's promo kit.
What to Expect During a DJ Promo Session
A good promo session usually runs for sixty to ninety minutes and covers more ground than people expect. We start with a conversation, not a camera. What genre do you play, and who books you? What is the tone of your existing branding — logo, colours, any artwork you have already used on releases or social posts? Are there other artists whose promo photography you admire, and can you tell me specifically what you like about it? This groundwork matters because it stops the session becoming generic. A generic promo shot photographs well but says nothing; a good one is unmistakably yours.
From there we typically move through several looks and setups within the same session. This might mean a set of headphones-on, mid-mix shots against a controlled studio background, followed by a moodier set with coloured gel lighting that echoes club or stage lighting, followed by a set of closer, more editorial portraits that work well for interviews and feature pieces. Having this range from a single session means you are not stuck using the same one image everywhere for the next two years — you have a small library to draw from depending on whether the context is a festival poster, a radio interview graphic, or an Instagram post.
If you perform live rather than working purely from a studio setup, we can also plan a session around an actual gig, capturing you at the decks with real crowd energy and real lighting rather than a simulated version of it. This kind of coverage works particularly well alongside more conventional event photography at the same venue, giving both you and the promoter usable material from the same night.
Studio, Club, or Outdoors: Choosing the Right Setting
There is no single correct setting for DJ promo photography, and the right choice depends entirely on the sound and the artist. A controlled studio setup gives you the most predictable, repeatable results — consistent lighting, a clean or gelled background, and complete control over the mood, which is ideal if you need images that will still look coherent as a set in two years' time. It is also the most efficient option if budget or time is tight, since there is no venue access to coordinate and no dependency on weather or opening hours.
Shooting in an actual club or venue, either during a real set or in an empty room before doors open, brings authenticity that a studio cannot fully replicate — real haze, real rig lighting, the texture of a genuine dancefloor. The trade-off is less control: venue lighting can be inconsistent, colour casts from house rigs need correcting, and an empty club before doors sometimes looks flatter than expected without the crowd and haze that give it atmosphere on the night. Outdoor and urban locations work well for DJs whose brand leans towards a rawer, streetwear-adjacent aesthetic — a car park at dusk, an underpass, an industrial backdrop can say more about a drum and bass or techno artist's identity than a polished studio ever would.
My honest recommendation for most DJs building out a first proper promo kit is a hybrid approach: book a studio session for the reliable, evergreen core images, and supplement it over time with live shots from actual gigs. That combination gives you both consistency and authenticity, rather than betting everything on one setting.
Building a promo kit that lasts
If you are putting together press material, EP artwork, or a line-up submission and need images that actually reflect your sound, I would love to help. I work with DJs and producers across the UK on studio and live promo sessions, and I am based in Cambridge with regular travel further afield.
Get in touchPreparing for Your Shoot: Wardrobe, Kit, and Mindset
Wardrobe is where I see the most first-time nerves, and the advice is simpler than most people expect: wear what you would actually wear to play a set, not what you think a "photoshoot outfit" is supposed to look like. If your usual gig look is technical outerwear and a cap, that is what should be in front of the camera. If it is all black and minimalist, bring three or four variations on that theme rather than one outfit you have never actually performed in. Bring your own headphones and, if relevant, your own controller or a piece of kit you are recognised for using — small authentic details like this photograph far better than generic studio props.
On the day, the biggest variable is not lighting or camera settings, it is energy. Photographs of DJs standing stiffly, unsure what to do with their hands, read as flat regardless of how technically well-lit they are. I get much better results asking people to actually move through the motions of mixing — cueing a track, adjusting a fader, nodding into a beat — rather than posing statically and trying to look intense on command. If you are someone who finds being photographed awkward, and most people genuinely do at first, know that the first ten minutes of any session are usually the least comfortable and things loosen up considerably once you are moving and the initial self-consciousness wears off.
Grooming is worth a mention too, since promo shots tend to be viewed at close range on phone screens. A fresh haircut a few days before rather than the morning of, well-maintained facial hair if that is part of your look, and skin that has had a full night's sleep behind it all make a visible difference in a way that lighting cannot fully compensate for.
Getting the Most Out of Your Final Images
Once the images are edited and delivered, the real value comes from how consistently you use them. Resist the temptation to mix promo photos from three different photoshoots, three different years, and three completely different visual styles across your platforms — it undermines the professional, cohesive identity that good promo photography is meant to build. Pick your current set, use it consistently across your Instagram, SoundCloud, Resident Advisor profile, and any press kit or EPK you send to promoters, and retire the old images entirely rather than letting them linger in rotation.
It is also worth thinking about image variety at the point of delivery rather than after the fact. Ask your photographer for a mix of horizontal images for header banners and festival line-up graphics, vertical images for Instagram Stories and posters, and at least one or two clean, uncropped portraits with room around the edges so a promoter's designer has something they can work into a layout without awkward cropping. A single square Instagram-ready image is rarely enough once you start submitting to festivals or getting press coverage, and having the range ready in advance saves a scramble later.
Refresh the set roughly once a year, or whenever your sound, look, or level noticeably shifts. An artist playing small local nights and one playing supporting slots at festivals often need visibly different promo material, and photography that accurately reflects where you are now, rather than where you were two years ago, tends to land better with bookers who are trying to gauge current relevance.
Common Questions from DJs Booking Their First Session
Do I need professional photography if I already have decent phone photos? Phone photos from gigs can be a genuinely useful supplement, especially for authentic behind-the-scenes content, but they rarely hold up as your primary promo image once you are submitting to festivals, radio stations, or press outlets that need a high-resolution, well-composed shot on short notice. A proper session gives you that reliable core image alongside the casual material.
How many images do I actually need? A realistic working promo kit is smaller than people assume — usually somewhere between eight and fifteen well-chosen final images covering a few different looks and orientations is enough to serve most bookings, press requests, and platform needs for a year without repetition becoming obvious.
Should the whole crew or b2b partner be in the shots? If you regularly perform as a duo or collective, it is worth planning both individual and group images in the same session, since promoters sometimes want a single artist image and sometimes want the full lineup or collective shot depending on the booking.
What if my sound changes between shoots? This happens often, and it is completely normal. Promo photography is not a one-off purchase, it is part of an evolving public identity, similar in that sense to any other kind of personal branding work — it is meant to be revisited as you develop, not treated as a single permanent asset.
DJ promo photography is a small, specific corner of the wider portrait and branding world, but it carries real weight for the artists who need it. A strong, consistent set of images does not replace a good set, but it does make sure the people deciding whether to book you see something that matches the quality of what they would hear. I am Yana Skakun, a Cambridge-based photographer working with clients across the UK on portrait, brand, and event photography, including promo sessions for DJs and musicians. If you are putting together a promo kit and want images that actually sound like your sets, get in touch and we can talk through what would work best for you.
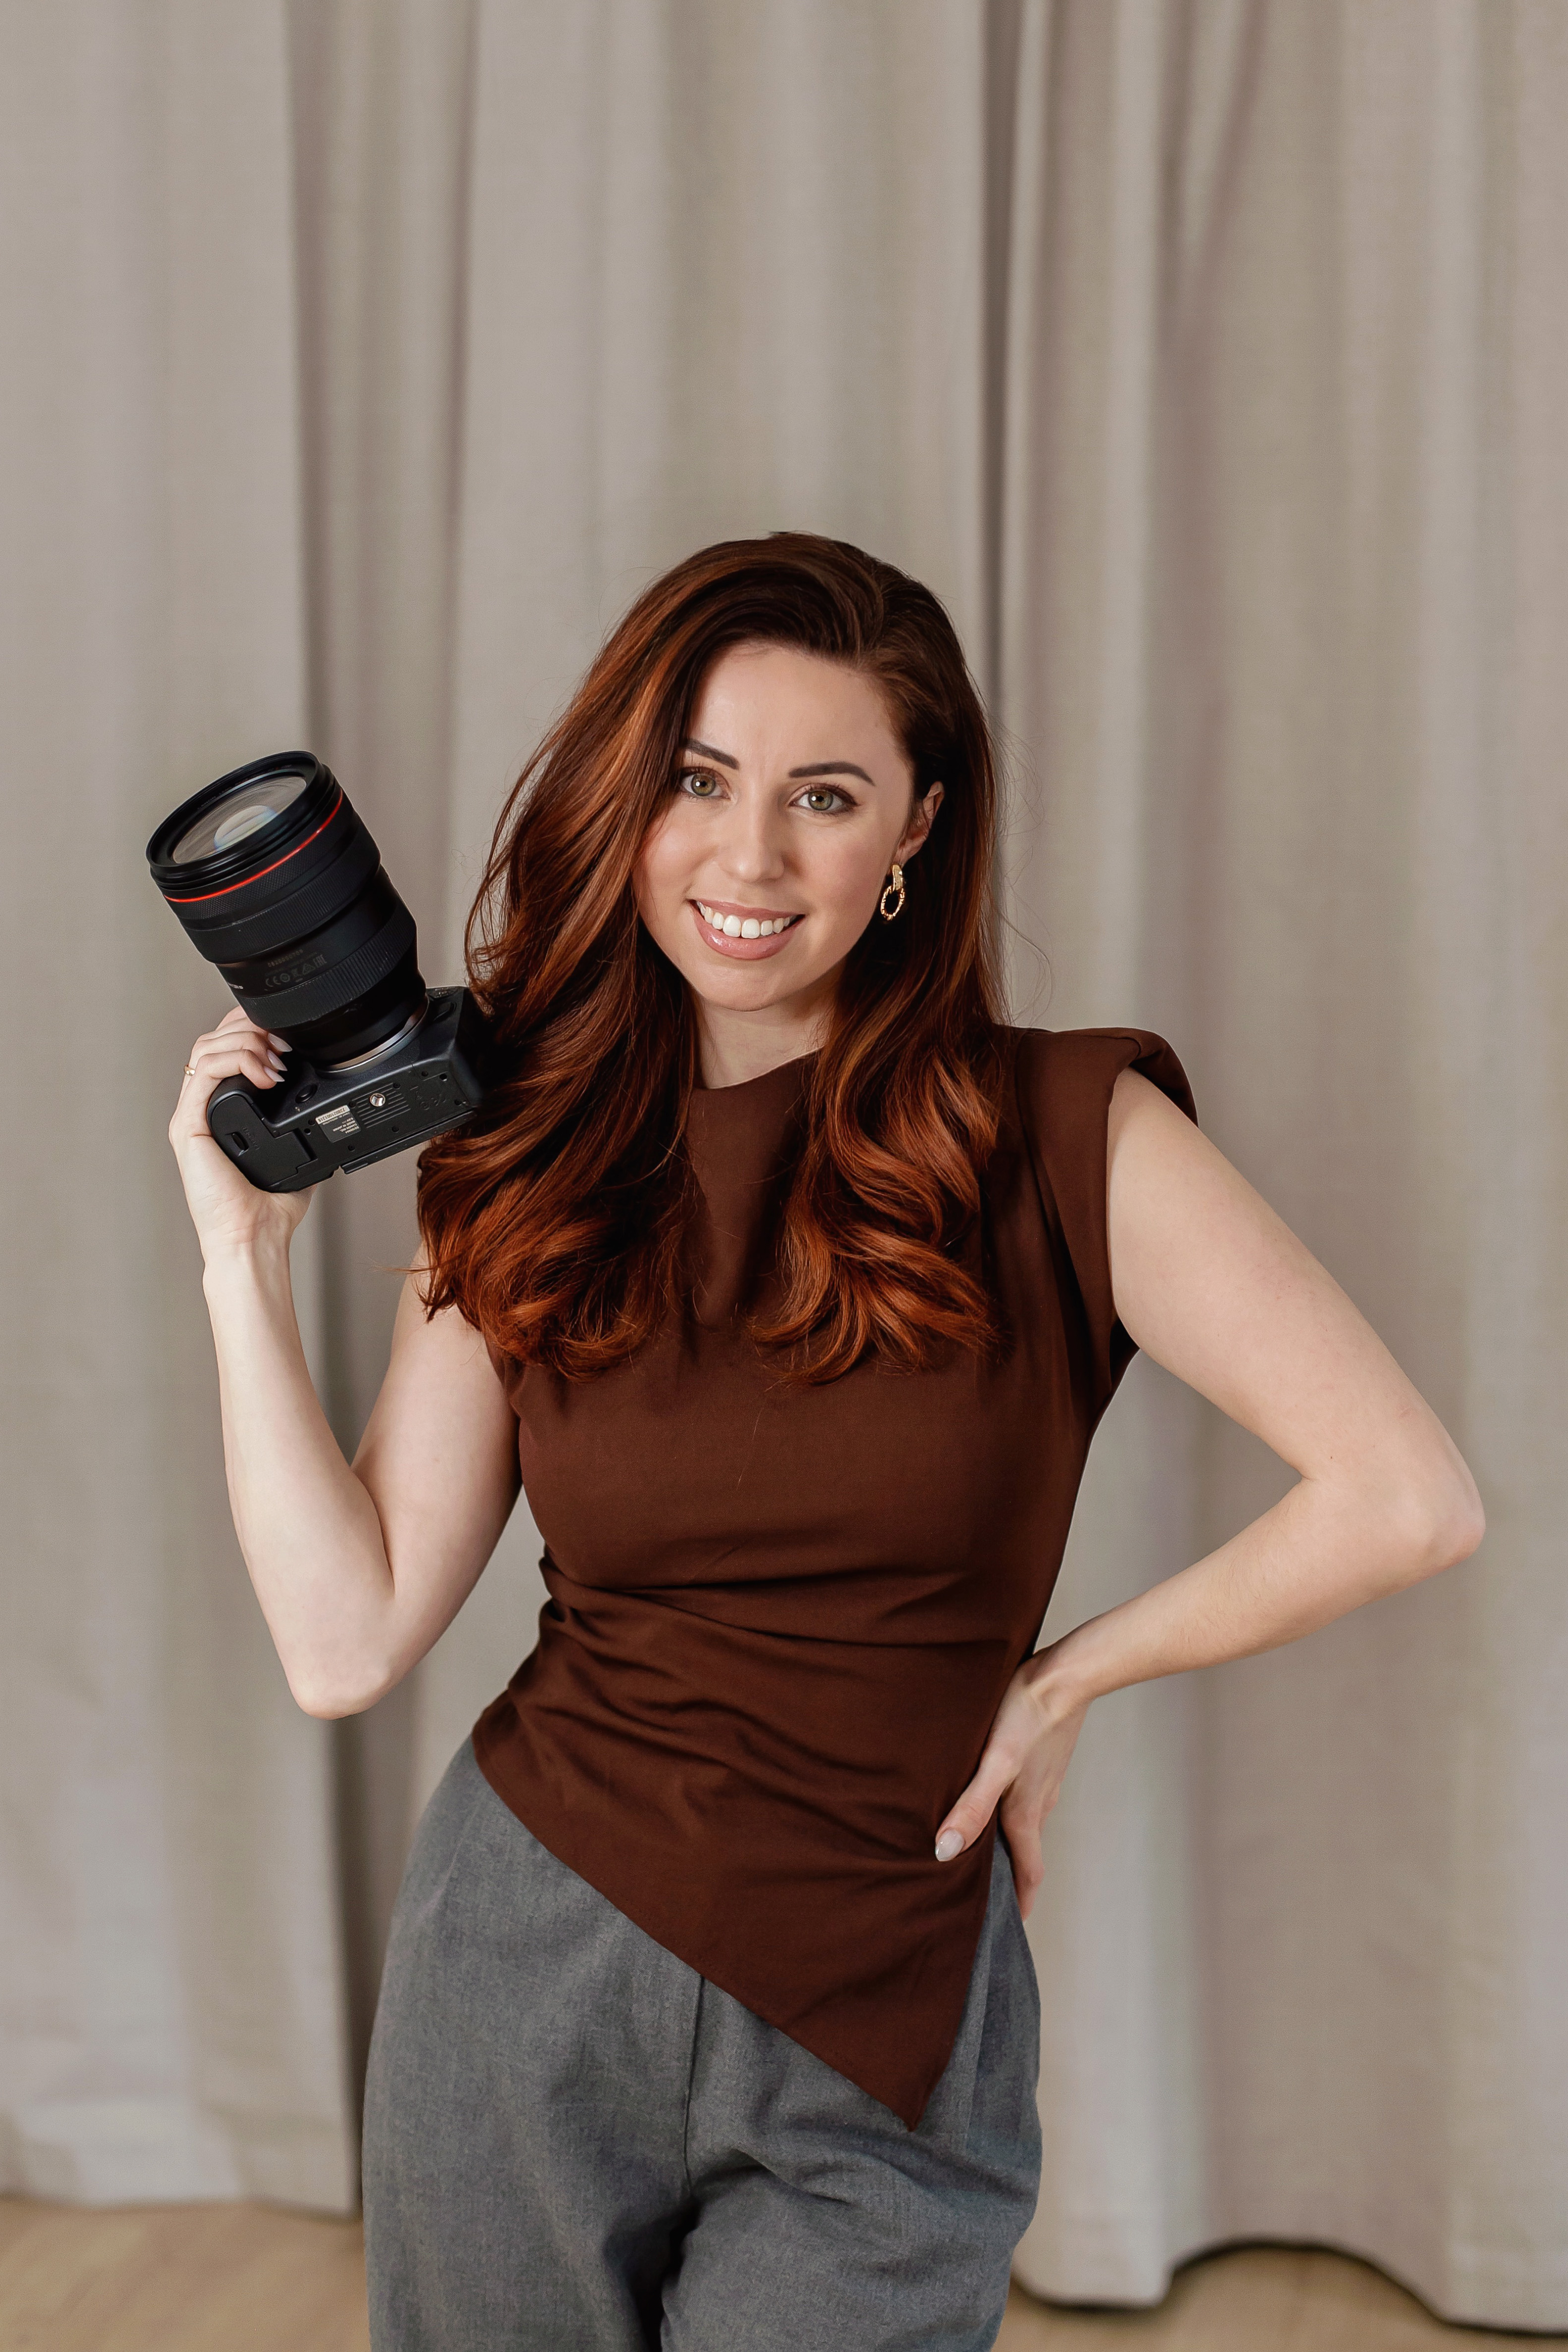
Yana Skakun
Photographer · England
Professional wedding, family and portrait photographer based in England. Passionate about capturing authentic emotions and timeless moments.
About Yana →DJ promo photographyDJ press photosmusic promo photography UKDJ branding photographerpromo shoot for musiciansDJ headshots
Photography Tips — Professional Photography in Cambridge & England
Yana Skakun is a professional photographer based in Cambridge, specialising in wedding, family, and portrait photography across England. Every session is personal — planned around your story, your people, and the moments that matter most. This guide — DJ Promo Photography: Building Your Brand Behind the Decks — is part of the photography journal: practical, experience-based advice drawn from real sessions across England. Whether you arrived searching for dj promo photography or dj press photos, the same care and attention shapes every session Yana photographs.
Professional Photography sessions are available year-round, with bookings open across Cambridge, Ely, Huntingdon, Peterborough, and further afield — East England, London, the Midlands, and beyond. If you have specific questions about music promo photography uk, mention it in your enquiry. Get in touch through the contact form above to check availability and discuss your session. Enquiries are welcomed from anywhere in the UK.
Frequently Asked Questions
What camera settings should I use for outdoor portraits?+
For outdoor portraits, shoot in aperture priority mode. Use a wide aperture (f/1.8–f/2.8) to blur the background and isolate your subject. Keep ISO as low as possible in good light. In bright conditions, use a neutral density filter or switch to manual to avoid overexposure at wide apertures.
What is the golden hour in photography?+
Golden hour is the period roughly 30–60 minutes after sunrise and before sunset. The sun is low in the sky, producing warm, soft, directional light that flatters skin tones and creates beautiful long shadows. It's widely considered the best natural light for portrait and outdoor photography.
How do you get sharp photos in low light?+
In low light, increase your ISO (accepting some grain), use the widest aperture your lens allows, and slow your shutter speed to the slowest you can hand-hold without camera shake (roughly 1/focal length as a guide). Use image stabilisation if available, and consider a tripod for static subjects.
What is the rule of thirds in photography?+
The rule of thirds divides the frame into a 3×3 grid. Placing your subject on one of the four intersection points — rather than dead centre — creates a more dynamic, visually interesting composition. It's a guideline, not a rule: some of the most powerful images break it deliberately.
How do you edit photos to look professional?+
Professional editing starts with shooting in RAW format. In Lightroom or similar software, correct exposure, white balance, and contrast first. Recover shadow and highlight detail. Apply gentle colour grading for mood. Be conservative with skin retouching — the goal is natural enhancement, not transformation. Consistency across a set of images is what separates professional from amateur editing.
Continue Reading
Related Articles

Photography Tips
Photography Gift Vouchers: The Most Personal Present You Can Give
5 min read · Read Article
Photography Tips
Photo Books vs Photo Albums: What Is the Difference and Which Is Better?
5 min read · Read Article
Photography Tips
Photo Gift Ideas: Turning Professional Images into Meaningful Presents
5 min read · Read Article
Get in Touch
Ready to Book Your Session?
Get in touch to discuss your vision — I'll reply within 24 hours.