Yana Skakun

How to Avoid a Double Chin in Your Wedding Photos
By Yana Skakun·10 July 2026·8 min read
It is one of the most common worries brides and grooms bring up before their wedding day, often half-joking but clearly not entirely: "I just don't want a double chin in every photo." It is such a widespread concern that I now address it as a matter of course in every pre-wedding consultation, because the fix is not complicated once you understand where the problem actually comes from. A double chin in a photograph is almost never about weight or fitness — it is about the angle of the camera relative to your face, the position of your neck, and a handful of habits that are easy to correct once you know what to look for. This guide covers exactly what causes it and, more usefully, what to do about it, both as someone being photographed and as something I actively manage from behind the camera.
Why It Happens: The Camera Angle, Not Your Face
A double chin in a photograph is, in the vast majority of cases, an optical effect rather than an accurate representation of your face. When a camera is positioned below eye level and pointed upward at a subject, it foreshortens the neck and pushes the jawline down and forward, creating shadow and compression under the chin that simply is not visible in the mirror or to the naked eye in person. This is true for every face shape and every body type. It is the single biggest reason guests taking photos on phones — which are frequently held low, at chest height, angled up — produce so many unflattering shots at weddings, while a photographer shooting from slightly above or at eye level produces something completely different from the same person in the same outfit minutes later.
The second contributing factor is posture. Most people, when told to "look natural" or simply left standing during a lull in proceedings, let their head drift slightly forward and down. This is an entirely normal resting posture, but it shortens the visible neck and creates the same compression effect as a low camera angle, even when the camera itself is positioned correctly. Combine a slightly low camera with a slightly forward head and the effect compounds.
The Chin Forward and Down Technique
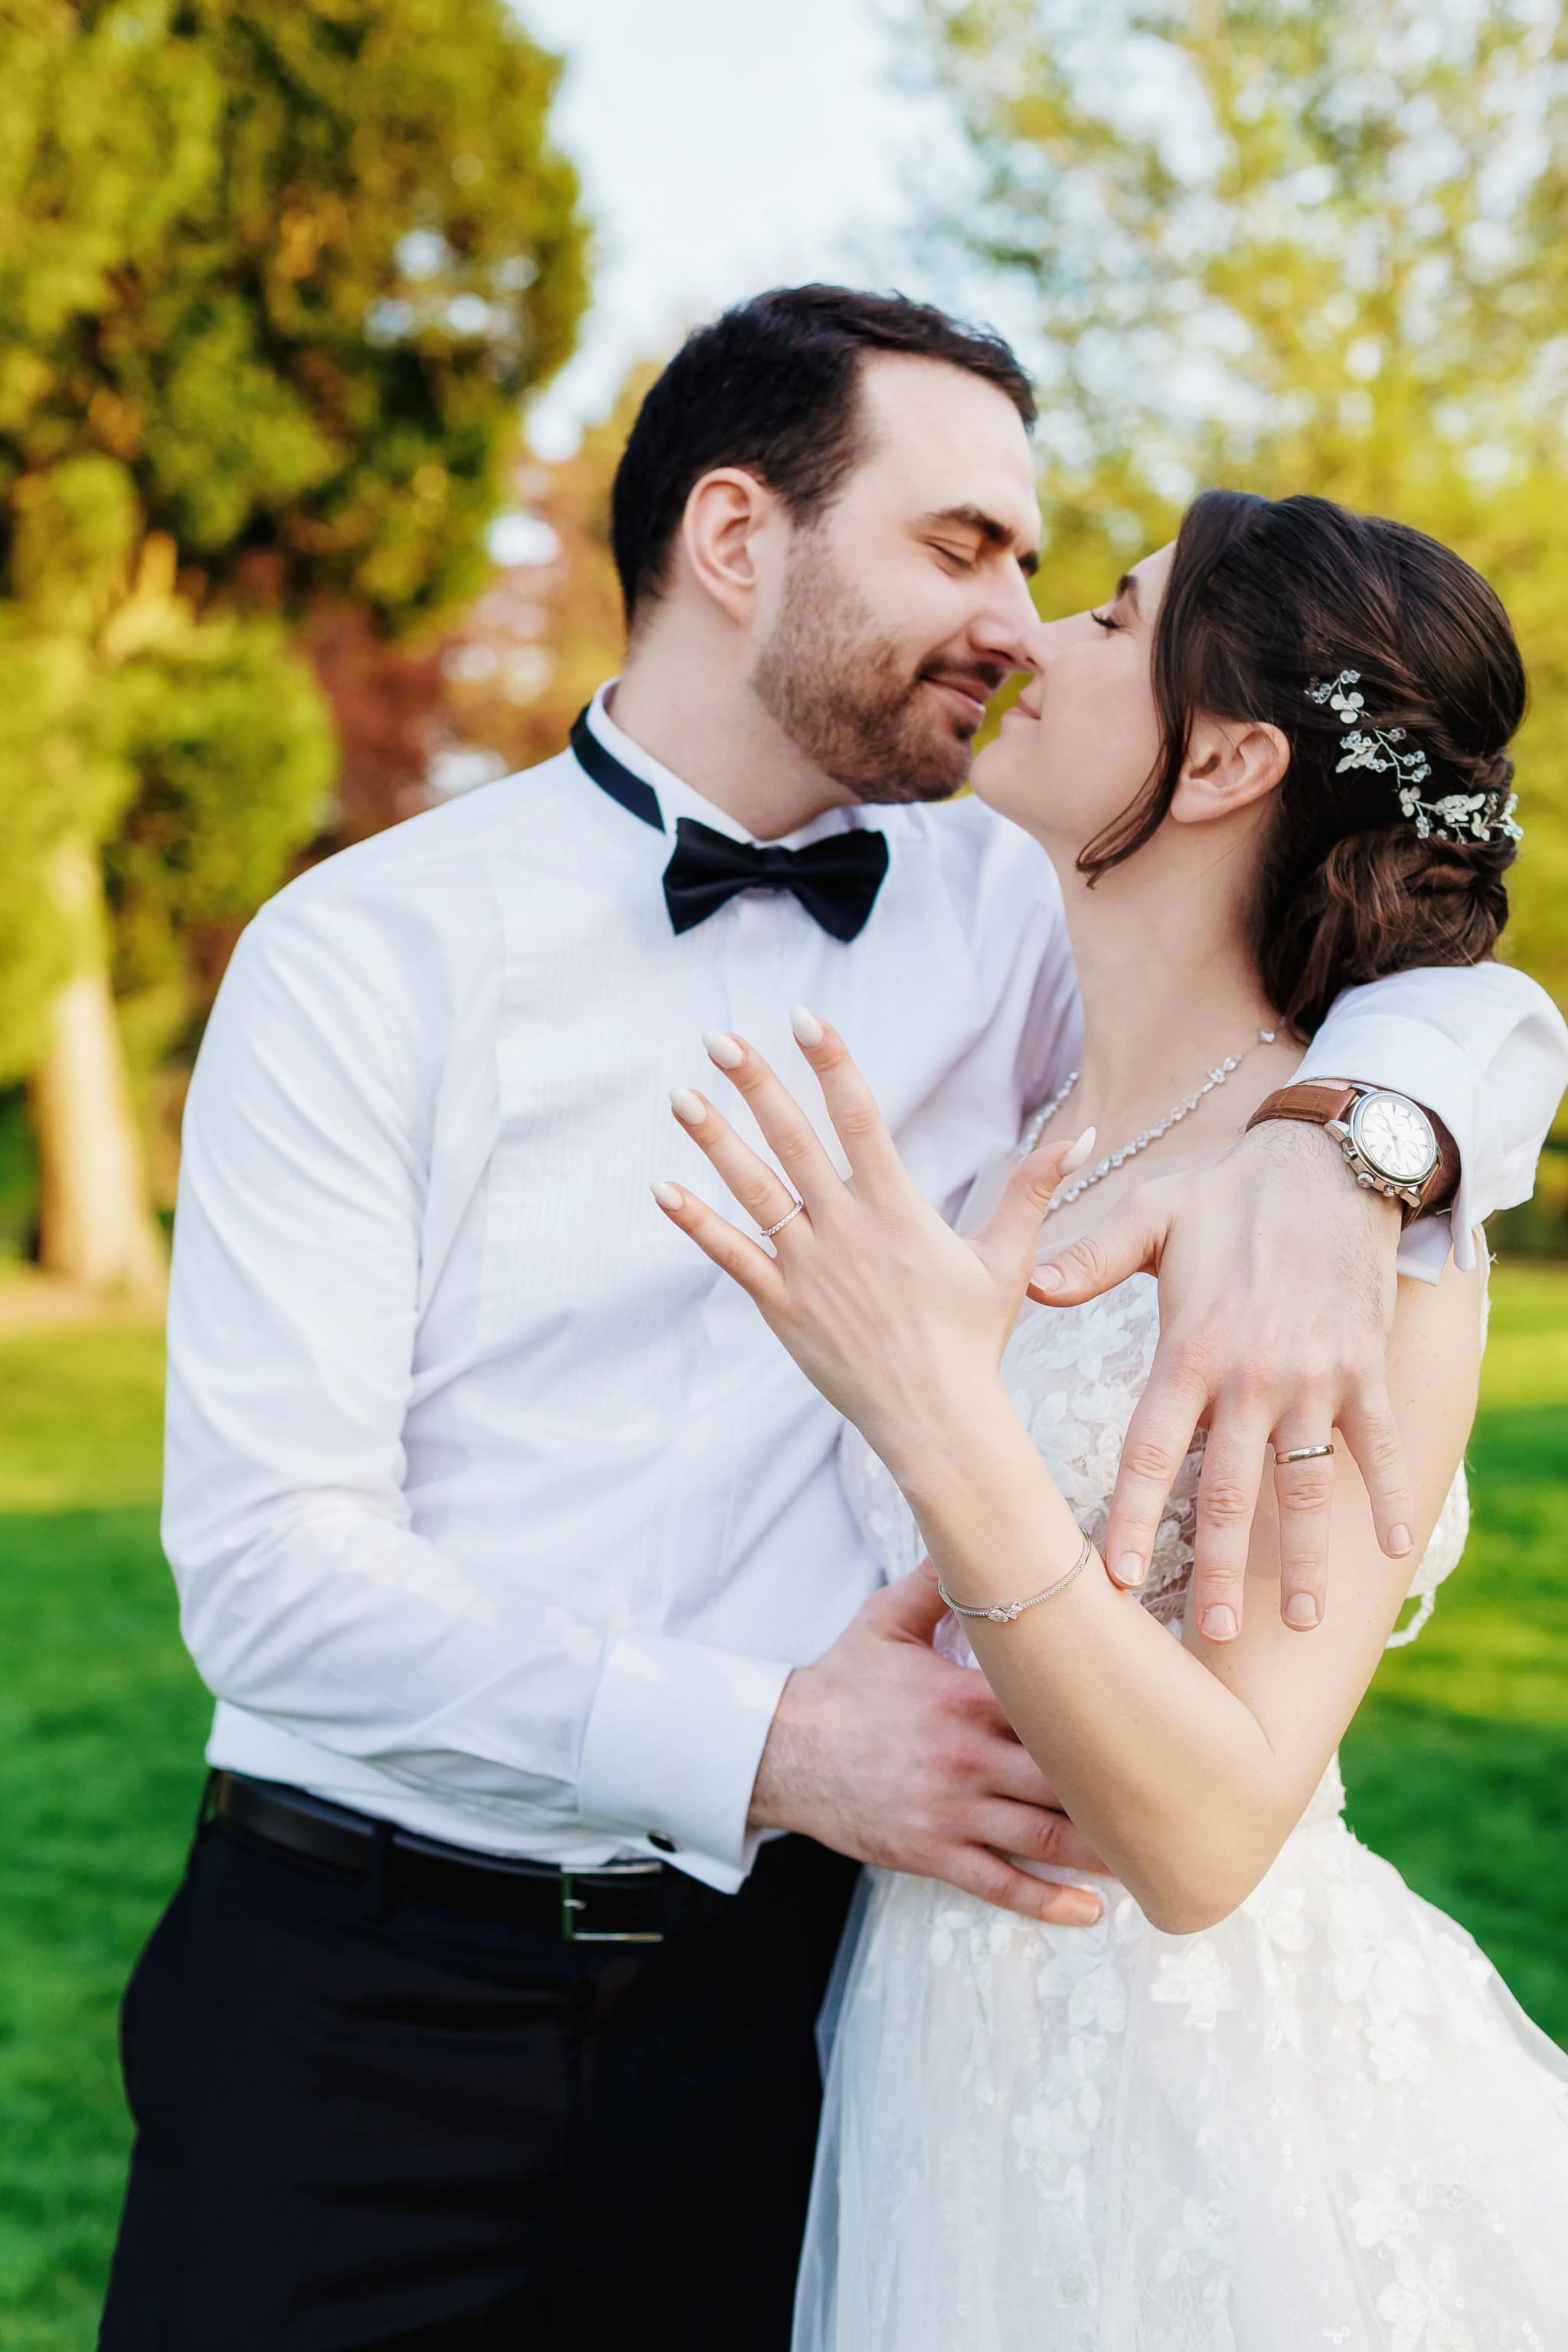
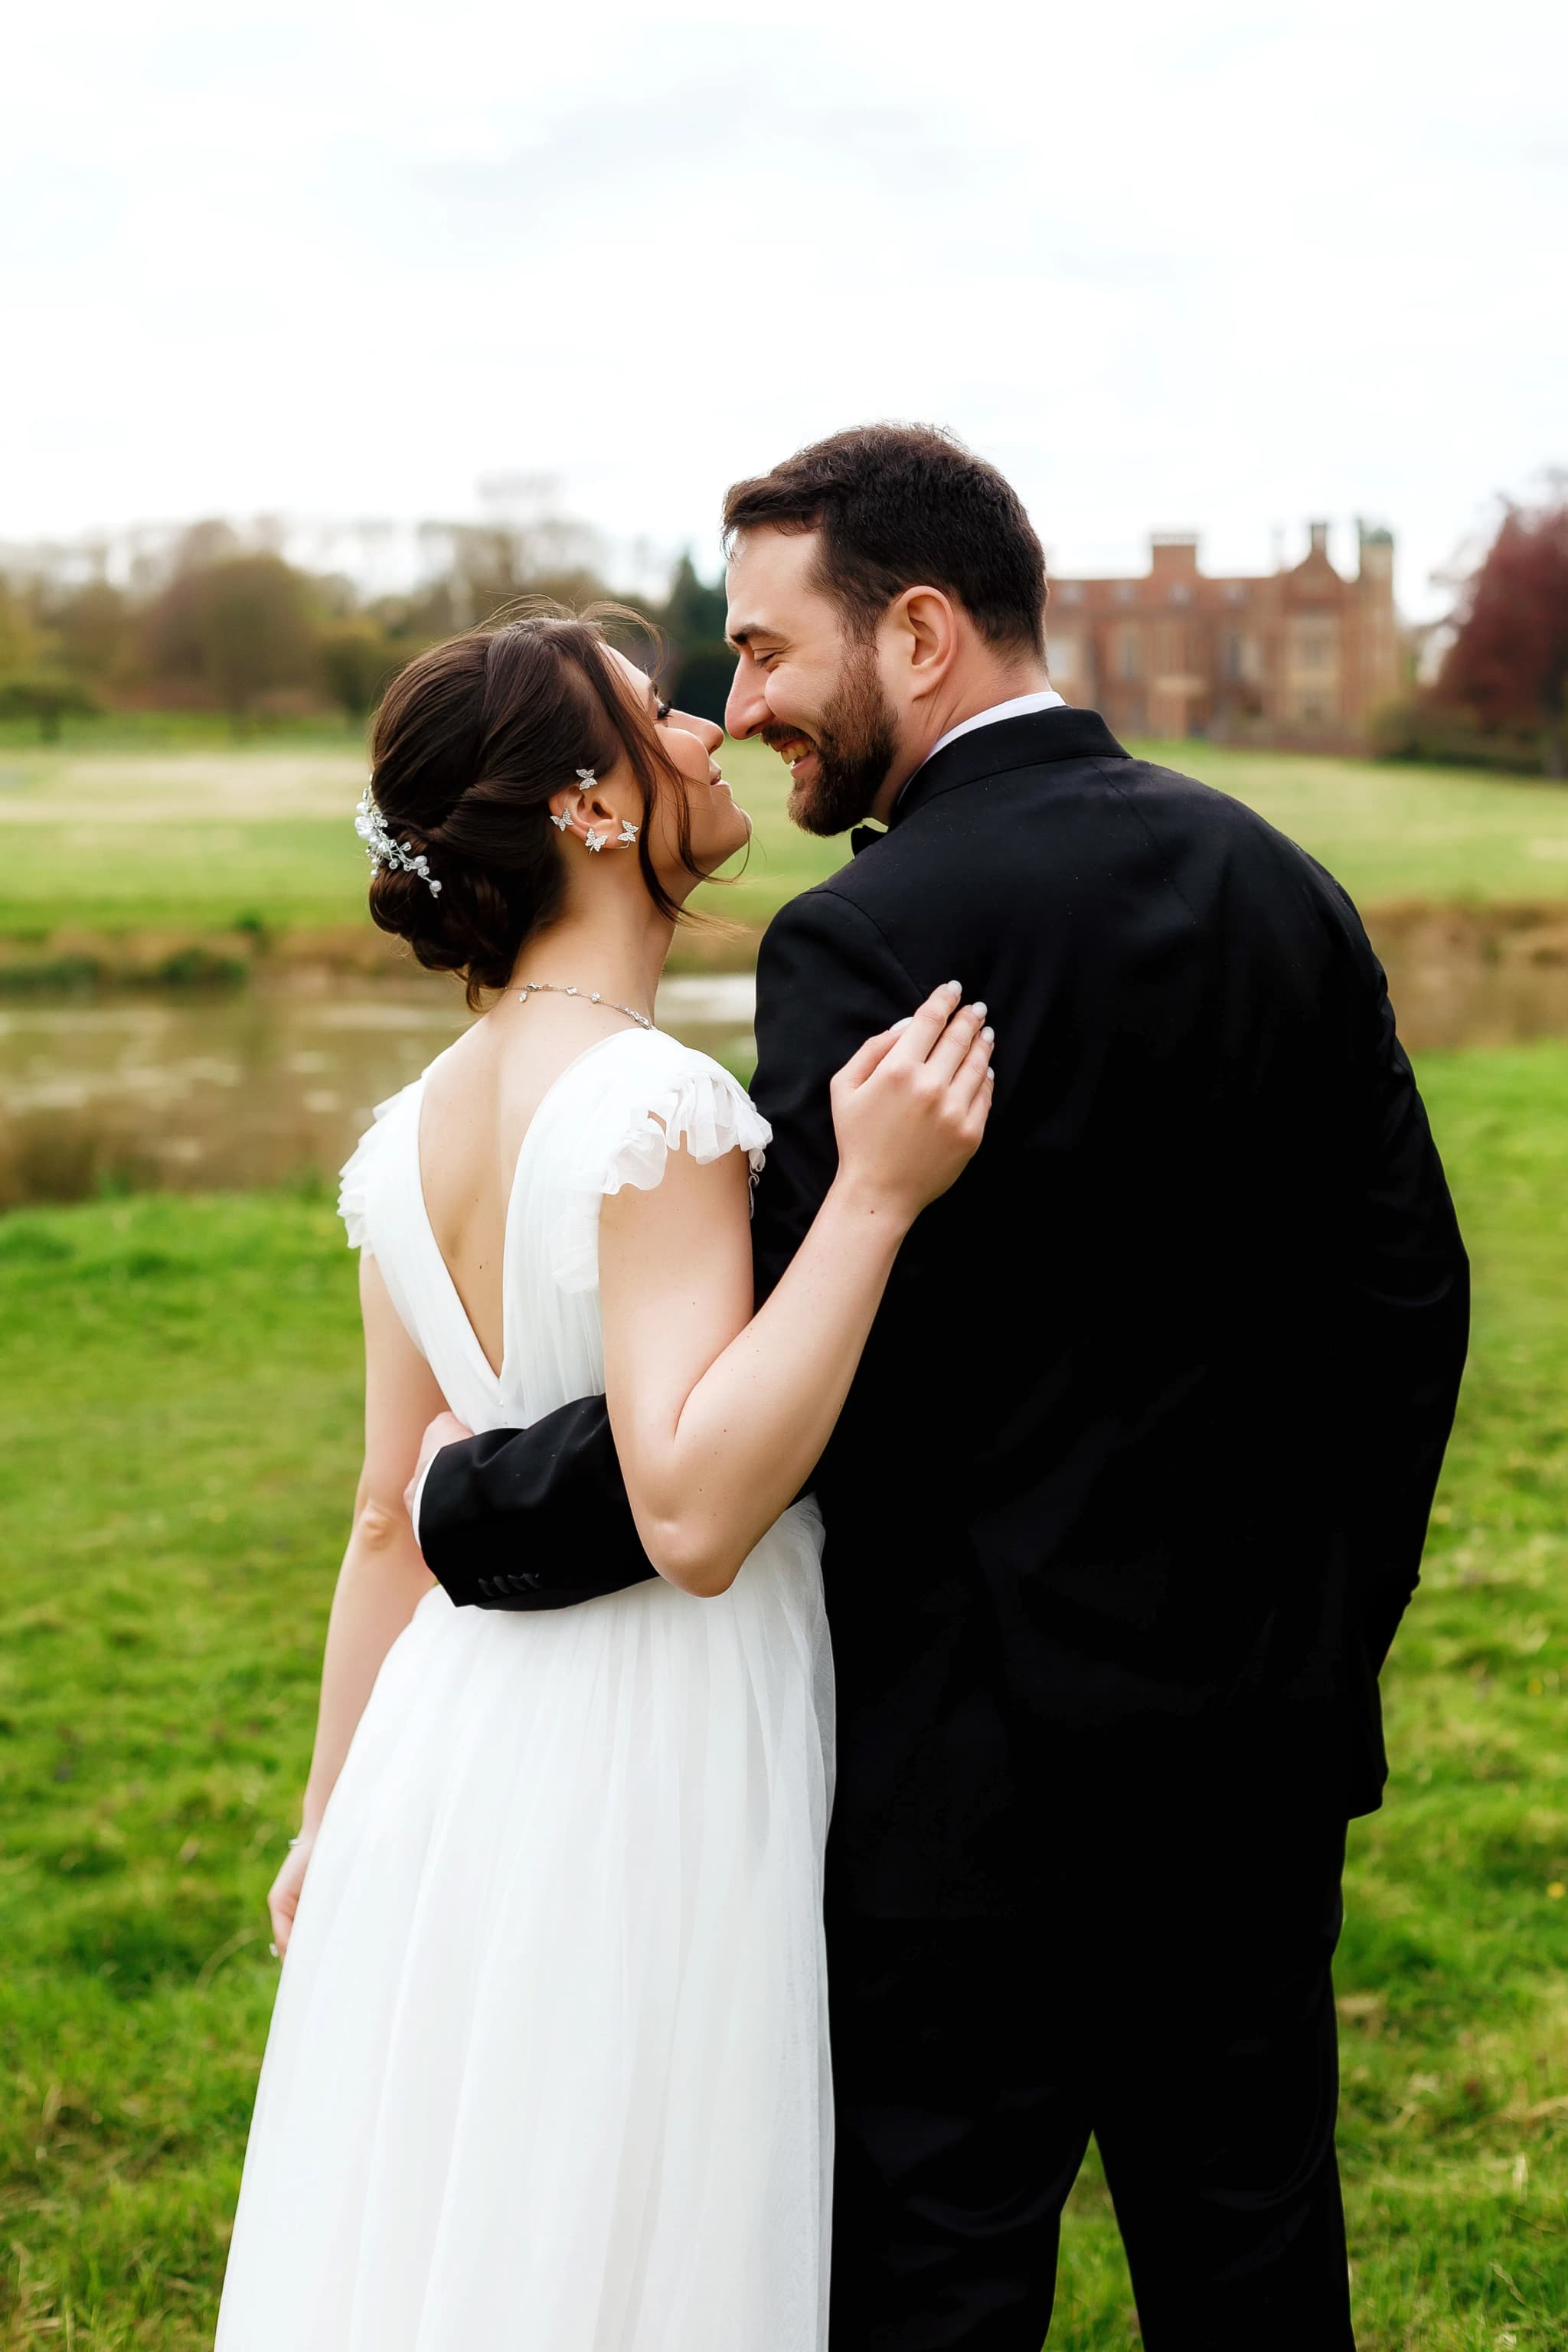
The single most effective posing adjustment, and the one I coach couples through constantly on wedding days without making a production of it, is moving the chin slightly forward and down, away from the neck, rather than tilting the head back. This sounds counterintuitive — most people's instinct when told to fix a double chin is to lift the chin upward, which actually makes things worse by tensing the neck and often producing a strained, unnatural expression. The correct movement is more like extending the crown of the head upward and gently sliding the chin forward, similar to the motion of craning slightly toward a camera lens rather than lifting the face to the sky.
Practising this in front of a mirror at home for even a minute or two before the wedding day genuinely helps. The movement should feel small and should not be visible as an obvious pose in the final image — if it looks like you are straining forward, you have gone too far. The goal is a lengthened neck and a defined jawline that reads as natural rather than performed. I often demonstrate this myself during couple portraits, since seeing the movement is far easier to copy than being told about it verbally.
Posture: Where the Real Work Happens
Good posture solves more of this problem than any single facial adjustment. Standing or sitting tall, with shoulders drawn gently back and down rather than hunched forward, automatically lengthens the neck and improves the jawline in every photograph taken from that position, not just one carefully posed shot. This matters particularly during the parts of the day that are less controlled — the ceremony itself, the speeches, the moments of sitting at the top table — where nobody is actively directing your posture and old habits reassert themselves.
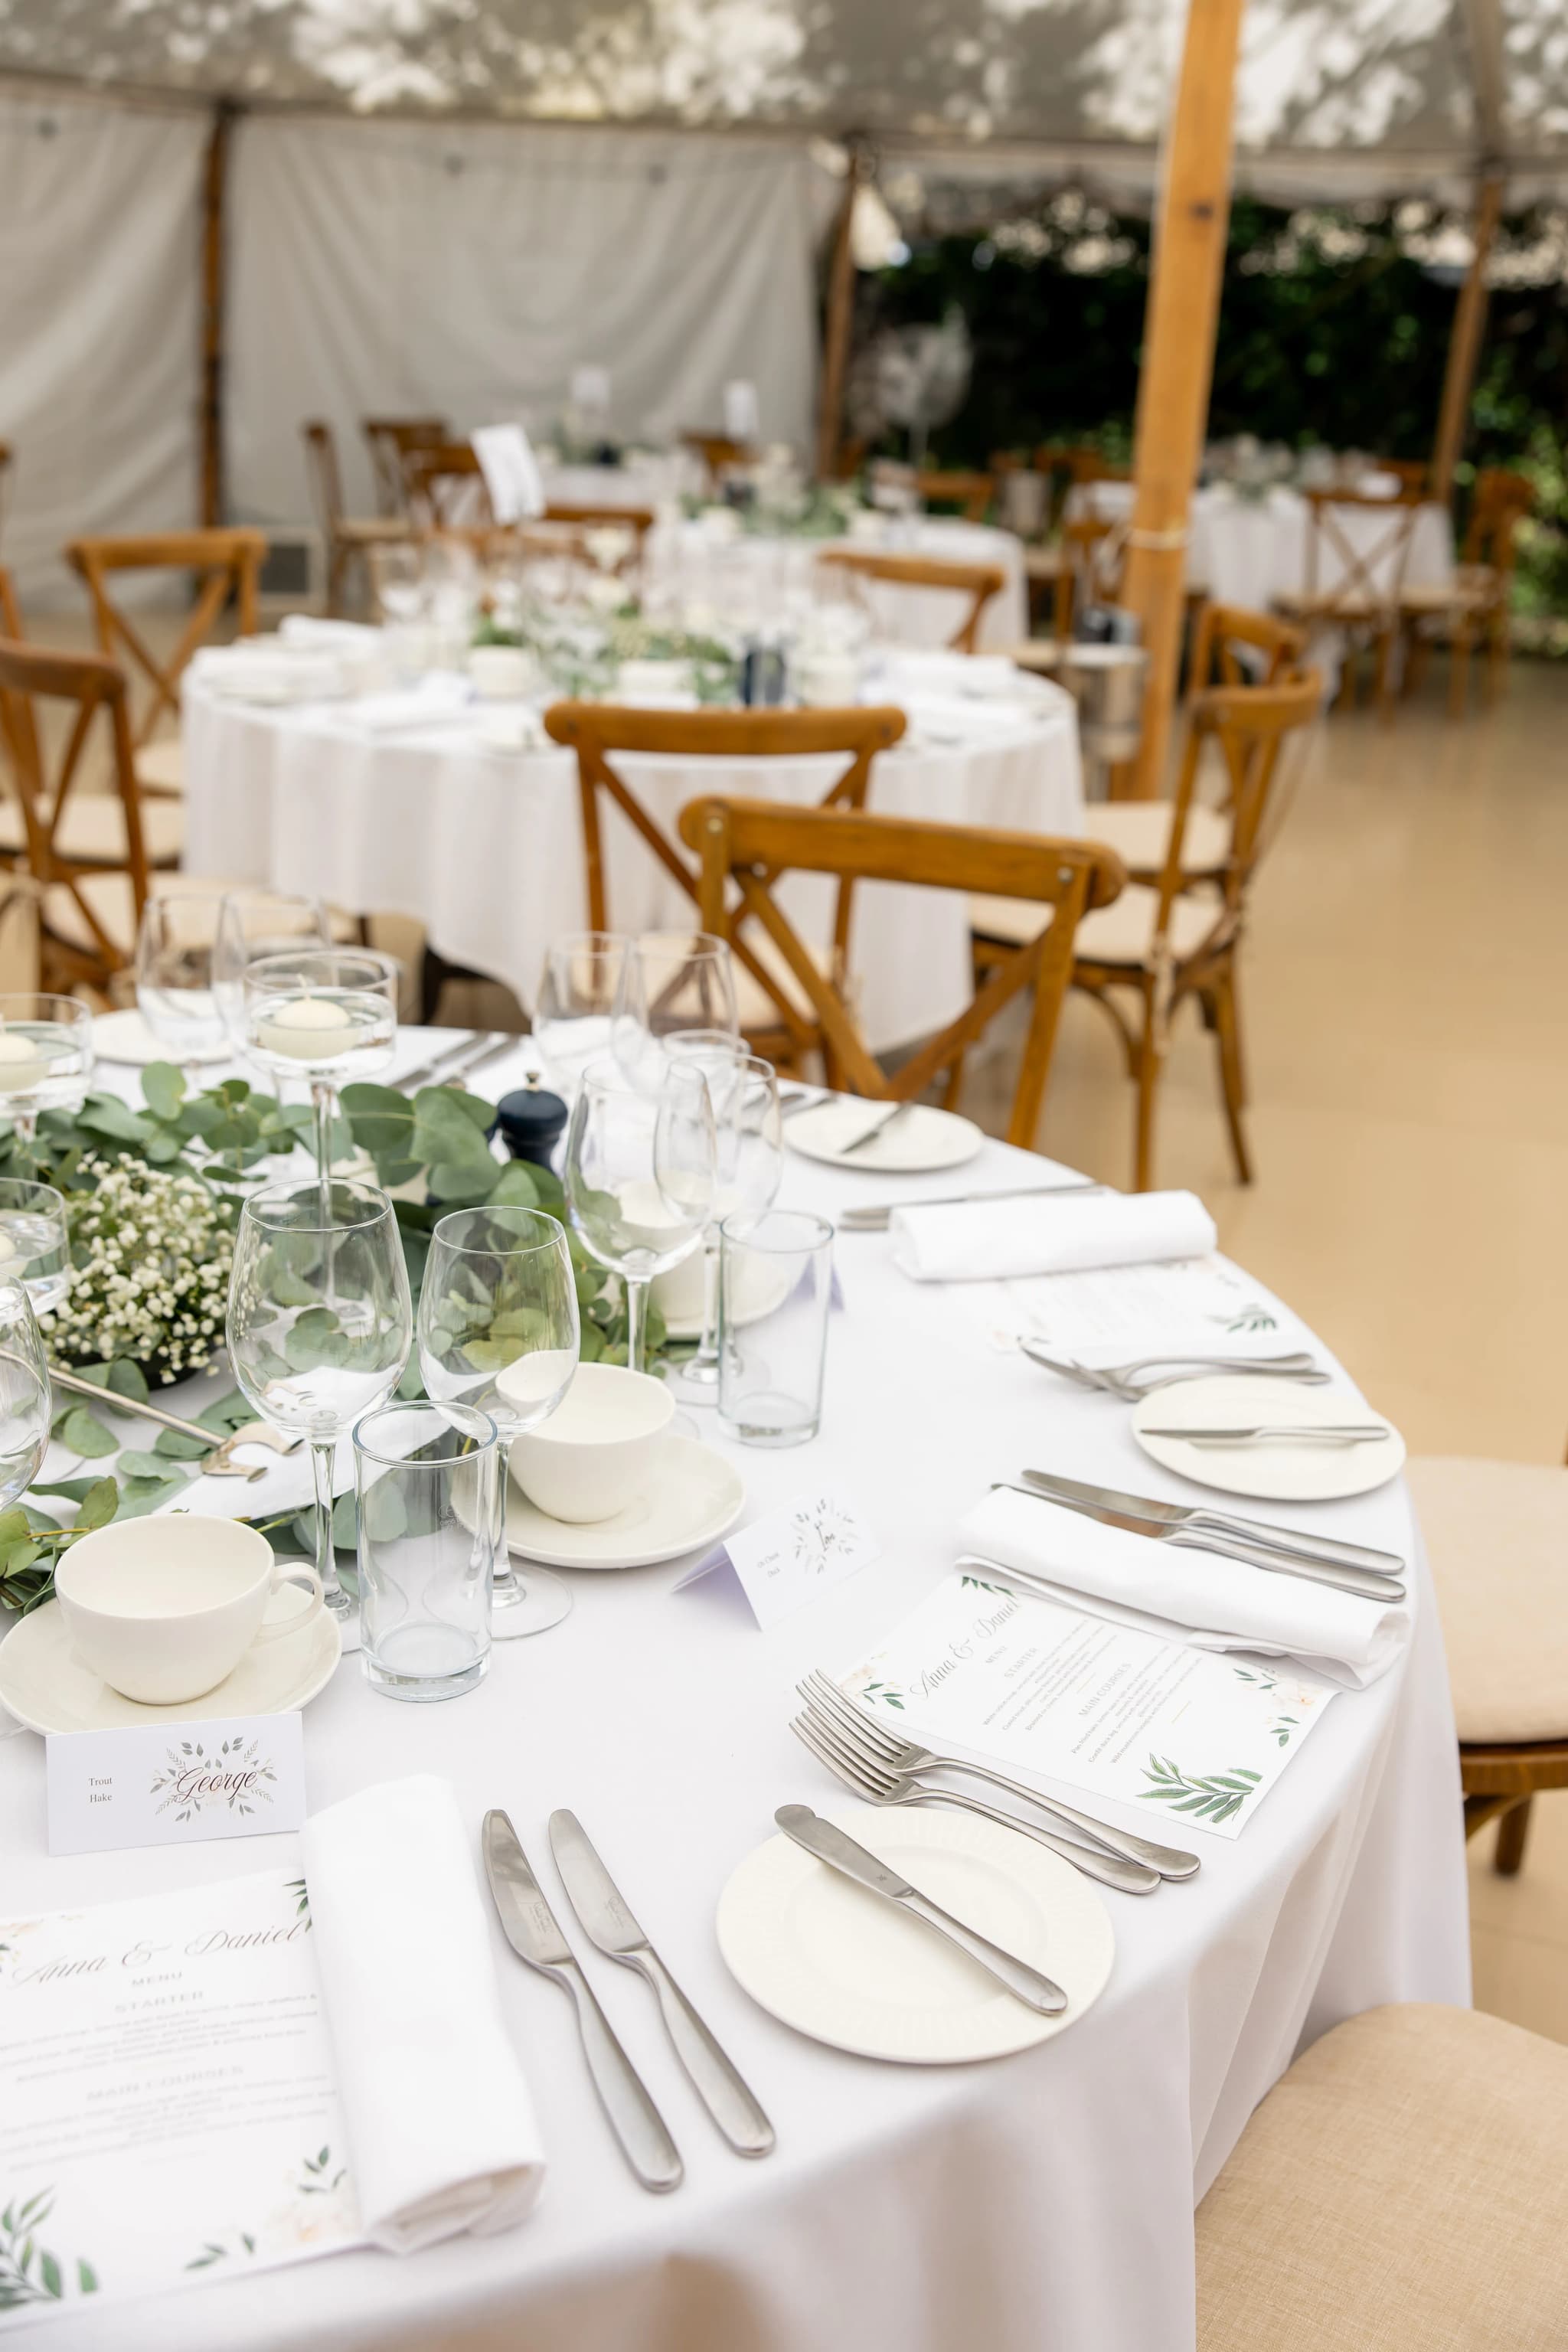
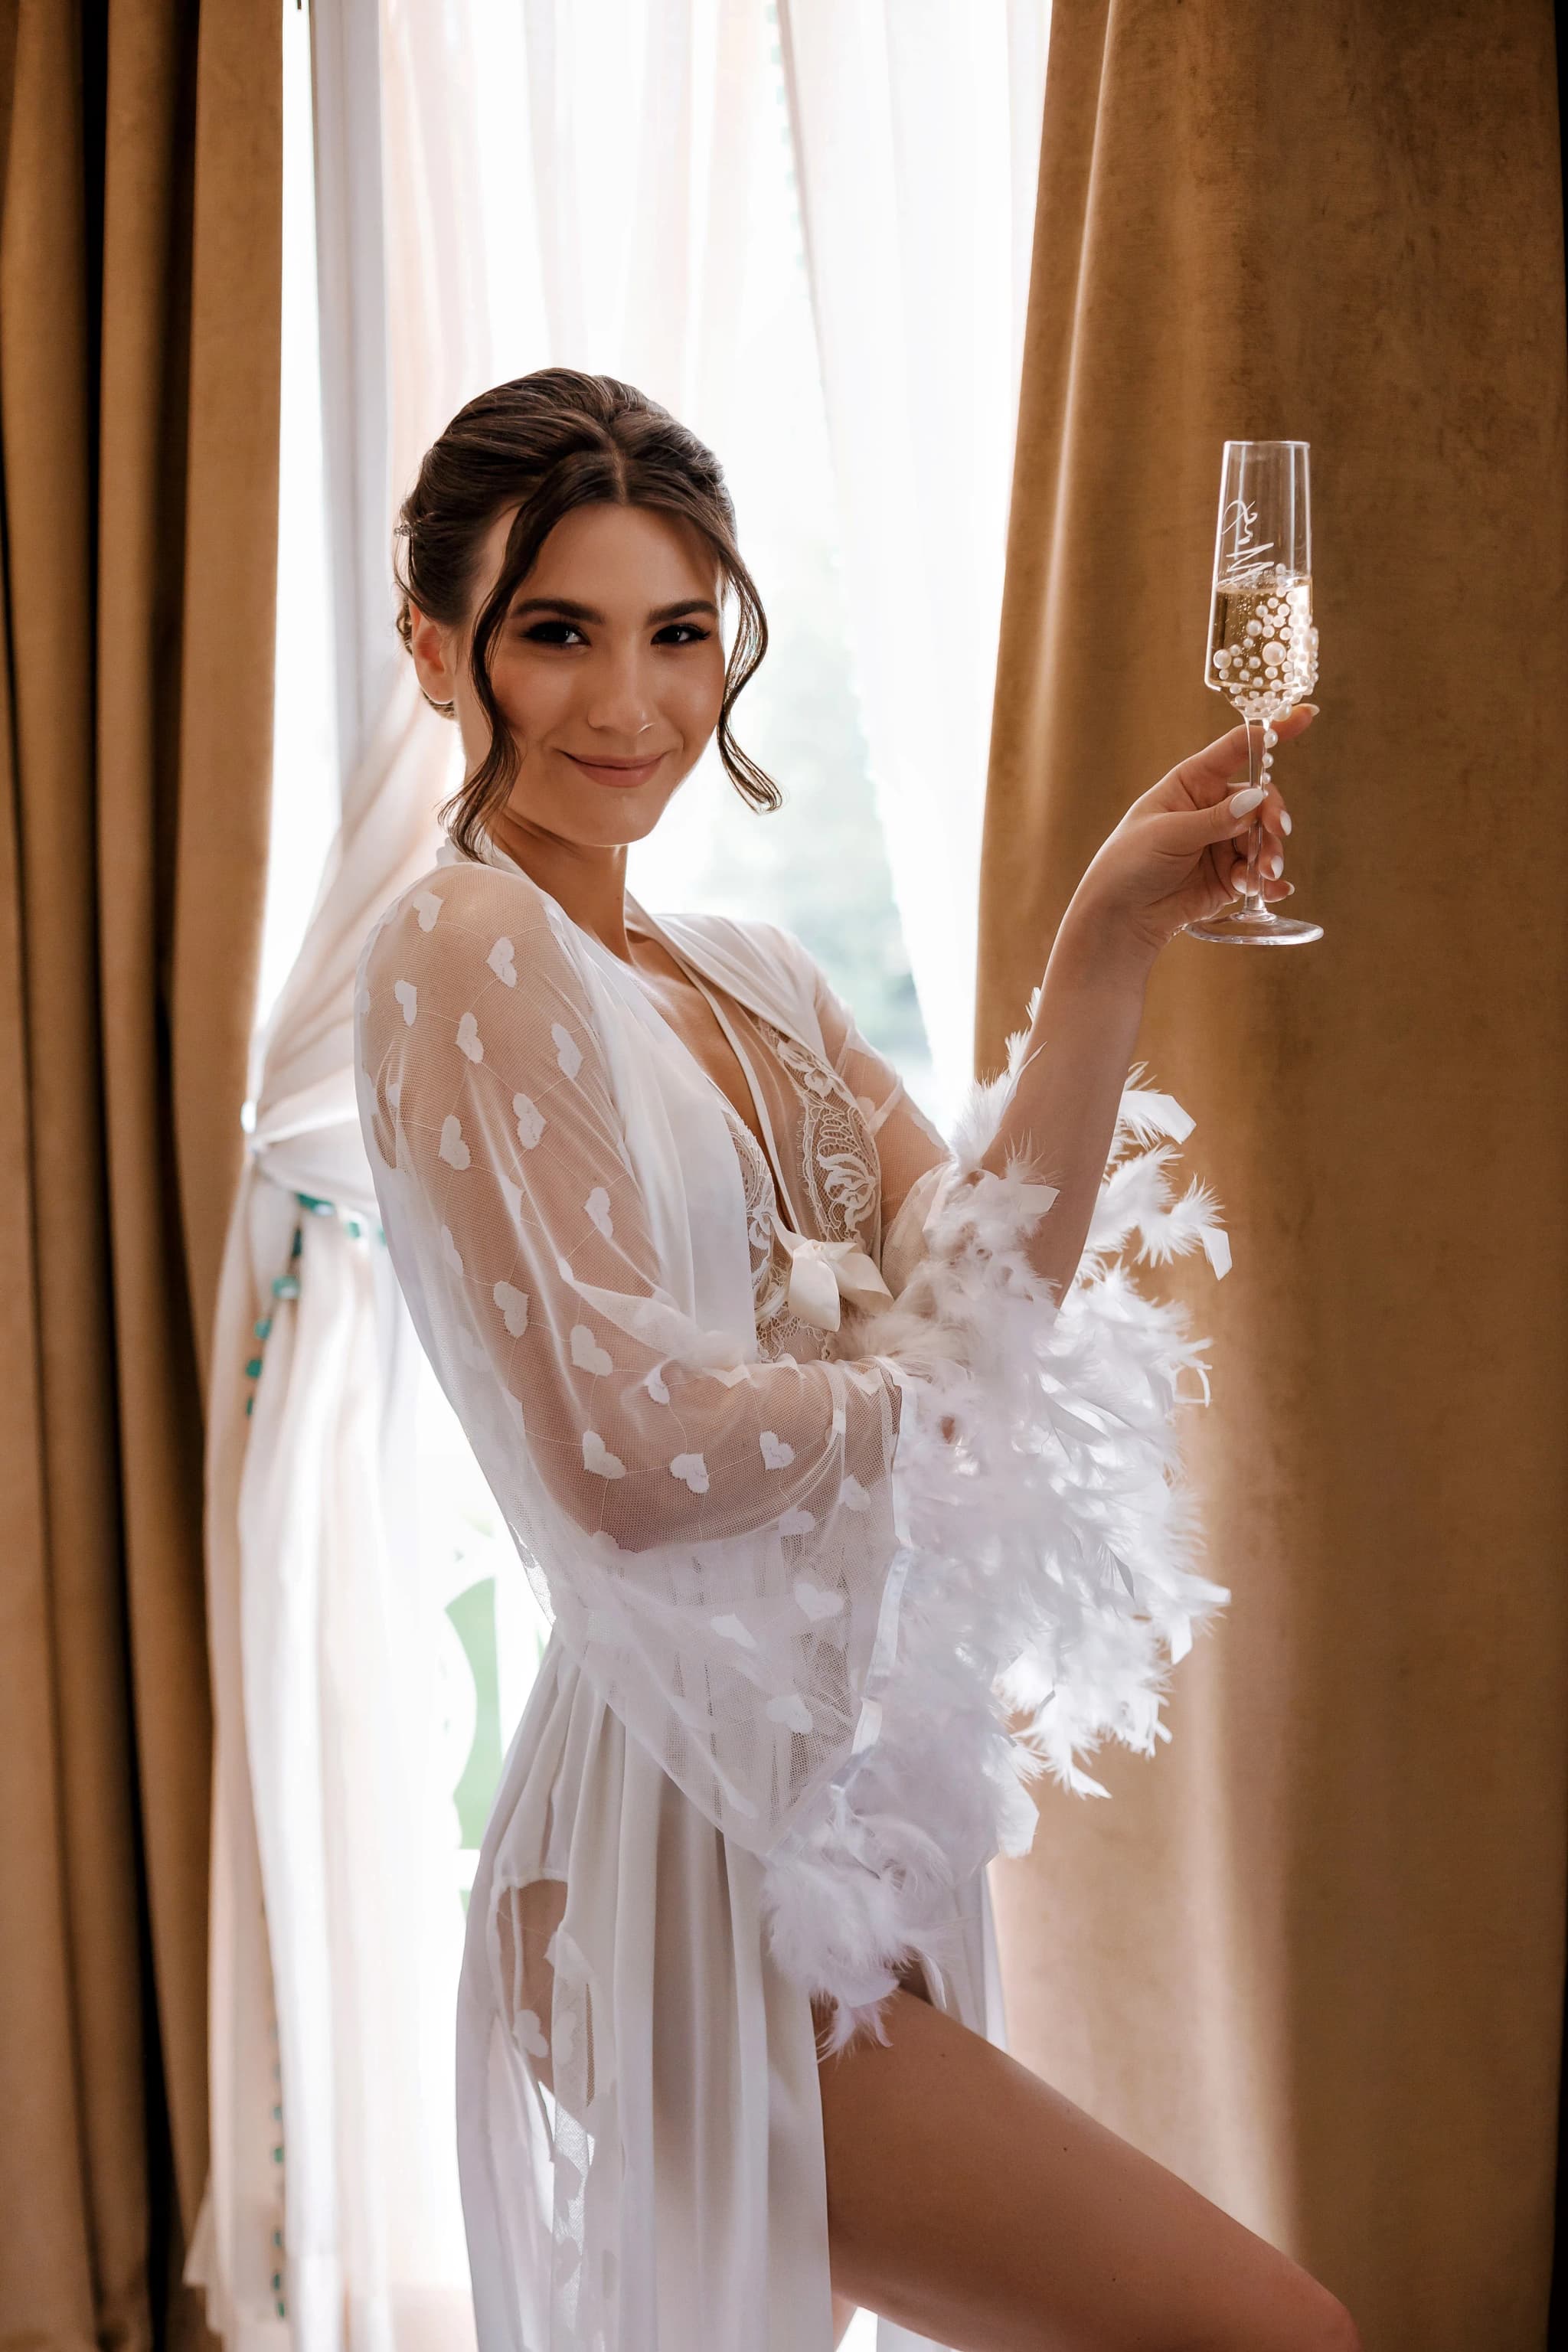
For seated portraits specifically, such as bridal prep shots or reception table images, leaning very slightly forward from the hips rather than slumping back into a chair keeps the neck long. Slumping back, even by a small amount, tends to push the chin down and the neck back, which is exactly the geometry that creates shadow and compression under the jaw. This is worth mentioning to bridesmaids and groomsmen too, since group shots often include several people seated at once and the same principles apply to everyone in the frame.
This is exactly what I manage for you
On the wedding day itself, none of this needs to be something you are consciously thinking about mid-ceremony or during your first dance. Camera angle, posing guidance, and posture cues are things I handle throughout the day so that you can simply be present in the moment. If you would like to talk through how I work with couples on the day, or see examples from recent weddings, I would love to hear from you.
Get in touchWhat a Good Wedding Photographer Is Already Doing About This
A large part of what separates a professionally photographed wedding from a day documented purely on guests' phones is exactly this kind of technical awareness happening constantly and invisibly in the background. Throughout a wedding day I am consciously choosing shooting height for every portrait and most candid sequences, generally positioning the camera at or slightly above the eyeline of the tallest person in a shot, and adjusting my own stance — crouching, standing on a step, angling from a slight distance with a longer lens — rather than asking couples to compensate for a low angle themselves.
This is one of the genuine, practical differences between working with an experienced wedding photographer for the whole day and relying only on guest photography for coverage of moments like speeches or the first dance, where cameras are frequently raised from a seated position and angled upward without anyone thinking about it. It is not about guests doing anything wrong — it is simply a different set of priorities and a different level of attention available when photography is the sole focus of someone's day rather than one thing happening alongside eating, drinking, and celebrating.
Practical Tips for Family and Group Photos
Group photos are where double chins tend to appear most frequently, largely because of logistics rather than posing failure. Large groups are often arranged on steps or a slope, photographed from a position that cannot realistically be raised much higher without a ladder, and assembled quickly under time pressure during the reception when guests are keen to get back to the bar. A few adjustments make a real difference here. Positioning taller people at the back and slightly encouraging everyone to angle their body a touch rather than facing the camera perfectly square helps enormously, since a straight-on angle is the most unforgiving position for almost every face shape.
I also try to keep formal family group sessions brisk and light in tone, because held expressions and long waits while people are arranged tend to produce exactly the sagging jaw and drifting posture this guide is about. A relaxed, quick sequence of frames where people are laughing or reacting naturally to a joke or a countdown consistently produces better results than a static, held pose lasting several seconds. If group photos are a particular concern for your day, it is worth raising during planning — I build in enough time for these on every wedding I photograph so nobody feels rushed, which you can read more about on the weddings page.
What to Avoid on the Day
A few specific habits tend to work against you and are worth being aware of. Looking down at a phone, an order of service, or a table setting immediately before a candid photograph is taken creates a compressed neck the moment you look back up, so if you notice a camera nearby, a small pause and a lift of the chin before re-engaging helps. Tight, high collars on suits or dresses can also visually shorten the neck in a way that makes the effect more pronounced, so if this is a significant concern, it is worth mentioning to whoever is helping you choose your outfit well before the day.
Tension is the other quiet culprit. A tense jaw, often brought on by nerves or by being told explicitly to "watch your chin," tends to produce a stiffer, less natural result than simply relaxing and trusting the person behind the camera to manage the angle. I deliberately avoid drilling couples on this during the day itself for exactly this reason — a couple laughing genuinely at something I have said will look better in every respect, including this one, than a couple holding a carefully rehearsed chin position.
If You Are Still Worried, Say So Before the Day
If this is a genuine concern for you, the most useful thing you can do is simply mention it during your planning conversations rather than hoping it resolves itself or worrying quietly on the day. I take this seriously and it changes nothing about how natural or relaxed your photographs feel — it simply means I am paying particular attention to angle and timing for you specifically, the same way I would note a preference for a particular side profile or a request to avoid certain candid moments during getting ready. Couples booking an elopement or an intimate day with fewer formal portraits often ask about this too, since with less time spent on posed group shots, individual portrait quality matters even more.
It is also worth remembering that the images you will keep and print for years — the ones that end up in a wedding album or framed on a wall — are a carefully chosen selection from many hundreds of frames taken across the day. Even without any of the techniques above, the editing and selection process naturally favours the flattering, natural frames over the awkward in-between ones. You are very unlikely to end up living with an image you dislike.
Worrying about a double chin is one of the most common things I hear from couples in the weeks before their wedding, and it is genuinely one of the easiest things to manage well. Between thoughtful camera positioning, a little attention to posture, and simply trusting the process on the day, it stops being something you need to think about at all. If you have questions about how I approach portraits and would like to see full galleries from recent weddings, take a look at the pricing page for details on packages, or get in touch directly — I am always happy to talk through exactly how Yana Skakun Photography works with couples to make sure everyone feels comfortable and looks like themselves on the day.
Yana Skakun
Photographer · England
Professional wedding, family and portrait photographer based in England. Passionate about capturing authentic emotions and timeless moments.
About Yana →how to avoid double chin in photoswedding photography posing tipsflattering wedding photoscamera angle tipswedding portrait posingUK wedding photographer
Photography Tips — Professional Photography in Cambridge & England
Yana Skakun is a professional photographer based in Cambridge, specialising in wedding, family, and portrait photography across England. Every session is personal — planned around your story, your people, and the moments that matter most. This guide — How to Avoid a Double Chin in Your Wedding Photos — is part of the photography journal: practical, experience-based advice drawn from real sessions across England. Whether you arrived searching for how to avoid double chin in photos or wedding photography posing tips, the same care and attention shapes every session Yana photographs.
Professional Photography sessions are available year-round, with bookings open across Cambridge, Ely, Huntingdon, Peterborough, and further afield — East England, London, the Midlands, and beyond. If you have specific questions about flattering wedding photos, mention it in your enquiry. Get in touch through the contact form above to check availability and discuss your session. Enquiries are welcomed from anywhere in the UK.
Frequently Asked Questions
What camera settings should I use for outdoor portraits?+
For outdoor portraits, shoot in aperture priority mode. Use a wide aperture (f/1.8–f/2.8) to blur the background and isolate your subject. Keep ISO as low as possible in good light. In bright conditions, use a neutral density filter or switch to manual to avoid overexposure at wide apertures.
What is the golden hour in photography?+
Golden hour is the period roughly 30–60 minutes after sunrise and before sunset. The sun is low in the sky, producing warm, soft, directional light that flatters skin tones and creates beautiful long shadows. It's widely considered the best natural light for portrait and outdoor photography.
How do you get sharp photos in low light?+
In low light, increase your ISO (accepting some grain), use the widest aperture your lens allows, and slow your shutter speed to the slowest you can hand-hold without camera shake (roughly 1/focal length as a guide). Use image stabilisation if available, and consider a tripod for static subjects.
What is the rule of thirds in photography?+
The rule of thirds divides the frame into a 3×3 grid. Placing your subject on one of the four intersection points — rather than dead centre — creates a more dynamic, visually interesting composition. It's a guideline, not a rule: some of the most powerful images break it deliberately.
How do you edit photos to look professional?+
Professional editing starts with shooting in RAW format. In Lightroom or similar software, correct exposure, white balance, and contrast first. Recover shadow and highlight detail. Apply gentle colour grading for mood. Be conservative with skin retouching — the goal is natural enhancement, not transformation. Consistency across a set of images is what separates professional from amateur editing.
Continue Reading
Related Articles

Photography Tips
Photography Gift Vouchers: The Most Personal Present You Can Give
5 min read · Read Article
Photography Tips
Photo Books vs Photo Albums: What Is the Difference and Which Is Better?
5 min read · Read Article
Photography Tips
Photo Gift Ideas: Turning Professional Images into Meaningful Presents
5 min read · Read Article
Get in Touch
Ready to Book Your Session?
Get in touch to discuss your vision — I'll reply within 24 hours.