Yana Skakun

How to Choose Photos for Your Wedding Album
By Yana Skakun·11 July 2036·5 min read
A few weeks after the wedding, your gallery arrives — anywhere from 500 to 800 photographs, every one of them a genuine moment from the day. The relief of seeing them is quickly followed, for most couples, by a quieter kind of panic. How do you turn 500 to 800 images into an album of perhaps sixty or eighty pages without either agonising over every frame for a month or handing the job over so casually that you end up with something that does not really represent the day? I have guided a great many couples through exactly this process, and there is a method that makes it manageable, keeps both partners genuinely involved, and results in an album you will still be pulling off the shelf on your tenth anniversary.
Why Story Beats Individual Images
The single most common mistake couples make when selecting album images is treating the task as a beauty contest — scrolling through the gallery and picking whichever frame looks best in isolation. That approach produces a collection of pretty pictures, not an album. An album is a sequential object. It has a beginning, a middle, and an end, and it is read in order, page by page, for decades. The image that wins when judged purely on its own merits is not always the image that belongs on the page.
I ask couples to think in sections rather than in individual frames: preparations, ceremony, portraits, reception, and speeches. Each section carries its own emotional register — the quiet, slightly nervous energy of getting ready is different from the charged stillness of the ceremony, which is different again from the loosened, celebratory tone of the reception once the meal is cleared and the dancing starts. A strong album moves through these registers deliberately. When couples select image by image without holding this structure in mind, they often end up with an album heavy in one section — usually the reception, because there are simply more photographs from that stretch of the evening — and thin everywhere else. Preparations should include enough detail shots to set the scene without becoming a catalogue: the dress on its hanger, shoes, invitation suite, rings on the table, a parent helping with buttons or a veil. Couples commonly under-select here because these images feel like "just objects," but a page of well-composed detail shots does real work — it slows the reader down and establishes texture before the pace picks up.
The Three-Step Selection Process
Step one is the favourites pass. Go through the entire gallery once, quickly, and star anything you are drawn to on instinct. Do not deliberate, do not compare similar frames against each other yet, and do not worry about how many you are choosing. Most couples land somewhere between 150 and 250 starred images at the end of this pass, and that is exactly the right range.
Step two is narrowing. This is where you go back through the starred set and, for every sequence of near-identical frames, keep only the strongest one. Most ceremonies and receptions produce clusters of three, four, sometimes ten frames of the same moment — a kiss, a toast, a first dance spin — taken a fraction of a second apart as the moment unfolds. Choosing between them is where couples most often disagree, and it is worth having a simple rule for breaking ties: look at eyes and hands first. An image where both people's eyes are open, where an expression reads as genuine rather than mid-transition, will almost always be the stronger choice, even if a nearby frame is technically sharper. The goal of this step is to bring the set down to roughly 80 to 120 images — a number that maps comfortably onto a standard album length.
Step three is the story test, and it is the step couples skip most often because by this point they are tired of looking at their own wedding. Lay the narrowed selection out in chronological order and ask, honestly: does this tell the whole story of the day? Is there a gap where a key moment — the first look, the parent dance, the exit — has been left out because no single frame from that moment felt strong enough on its own? This is the point to go back into the fuller gallery, past just the starred images, if something is clearly missing. A designer can always cut a redundant image once the spreads are built; it is much harder to notice an absence once the album is already laid out.
When Partners Disagree
Almost every couple disagrees on at least a handful of images, and it is worth expecting this rather than being unsettled by it when it happens. The most common source of disagreement is not about which image is more flattering — it is about which moment matters more to each person. One partner might feel strongly about including a particular exchange with a parent; the other might care more about a joke shared with the wedding party. Both instincts are valid, and the album has room for both if you are willing to be selective elsewhere to make space.
My advice when a genuine impasse arises on a single image is to set it aside rather than debate it to exhaustion in the moment, finish the rest of the selection, and come back to it last. Very often, once the rest of the sequence is settled, it becomes obvious whether the disputed image is actually needed to complete the story or whether it was only being defended out of stubbornness. If it is still unresolved after that, I am always happy to give a third opinion as the photographer who was there and has an outside view of how the image will sit against its neighbours on the page.
Common Mistakes to Avoid
The most frequent mistake, beyond skipping the story test, is over-including reception dancefloor images. Dancefloor photography is genuinely difficult to shoot and select from, because low light, movement, and changing coloured lighting produce a lot of frames that are technically imperfect — some motion blur, some odd colour casts, faces caught mid-blink in a way that reads as slightly chaotic. A little of that energy is exactly what a reception section should have, but couples often over-select simply because there are hundreds of frames to choose from and the night is fresh in memory. Two or three strong dancefloor spreads communicate the atmosphere far better than eight.
The second common mistake is the inverse: skipping detail and atmosphere shots in favour of only photographs with people in them. Stationery, table settings, the venue exterior in evening light, shoes discarded under a chair late in the night — these images give an album pacing and texture, and a page that is entirely faces, spread after spread, becomes visually monotonous no matter how good each individual photograph is. The third mistake is choosing images purely for how the couple looks and disregarding what else is happening in the frame — a background guest pulling a strange expression, a caterer mid-stride behind the head table — details that are easy to miss when you are looking only at your own faces, and worth a second dedicated look before finalising a selection.
A note on album design
Album design is included in selected wedding packages, and I work closely with every couple through the selection and layout stages so the finished album genuinely reflects the day rather than a generic template. If you are planning your wedding and want to understand how album design fits into your package, I would love to talk it through with you.
Get in touch about wedding photographyTrusting the Designer, and What the Pages Actually Look Like
Once your final selection is confirmed, the album designer — either the photographer or a specialist designer working from the chosen images — builds the spreads. A typical wedding album runs to around thirty to forty spreads, sixty to eighty pages once you count both sides, and a selection of 80 to 120 images maps onto that length comfortably, with some spreads holding a single large image and others holding two, three, or a small cluster of frames grouped around a theme or a fast sequence of a few seconds.
Good design does not fill every page edge to edge. Negative space — a single striking portrait given a full spread with generous white or neutral space around it — is often what makes an album feel considered rather than crammed. Pacing matters as much as image choice: a designer will typically follow a busy, image-dense spread with a quieter one, so the reader's eye gets somewhere to rest before the next high point. When you receive the designed proof, my advice is to trust the layout on first look unless something feels genuinely wrong, rather than requesting wholesale changes to spreads that simply look unfamiliar because you have not seen your own images arranged this way before. From gallery delivery to final design approval, the whole process typically takes four to six weeks: about two weeks to complete your own selection, one to two weeks for the design pass, and a further round or two of revisions before you sign off.
Print and Binding Quality
The album itself is worth thinking about as an heirloom object rather than a printed product, because that is genuinely how it will be treated in your household for decades. Lay-flat binding, where each spread opens completely flat without a gutter swallowing the centre of the image, is worth insisting on for any spread using a single large photograph spanning both pages — nothing undermines a strong image faster than half of it disappearing into the spine. Archival, colour-accurate printing on genuine photographic paper stock preserves the tonal range of the images and their longevity, where cheaper processes tend to shift colour and fade within a decade or two. Cover material is largely a matter of taste, and worth choosing based on how the album will actually be handled and displayed rather than on trend alone.
None of this needs to be a source of anxiety during the selection stage. If you follow the three-step process — star generously, narrow to your strongest 80 to 120, then test the sequence against the shape of the day — you will arrive at a selection that a good designer can turn into something genuinely beautiful. If you are working through this process at the moment and would like a second pair of eyes on a selection that feels stuck, or want to talk through pacing and page count before you finalise anything, get in touch and I am glad to help.
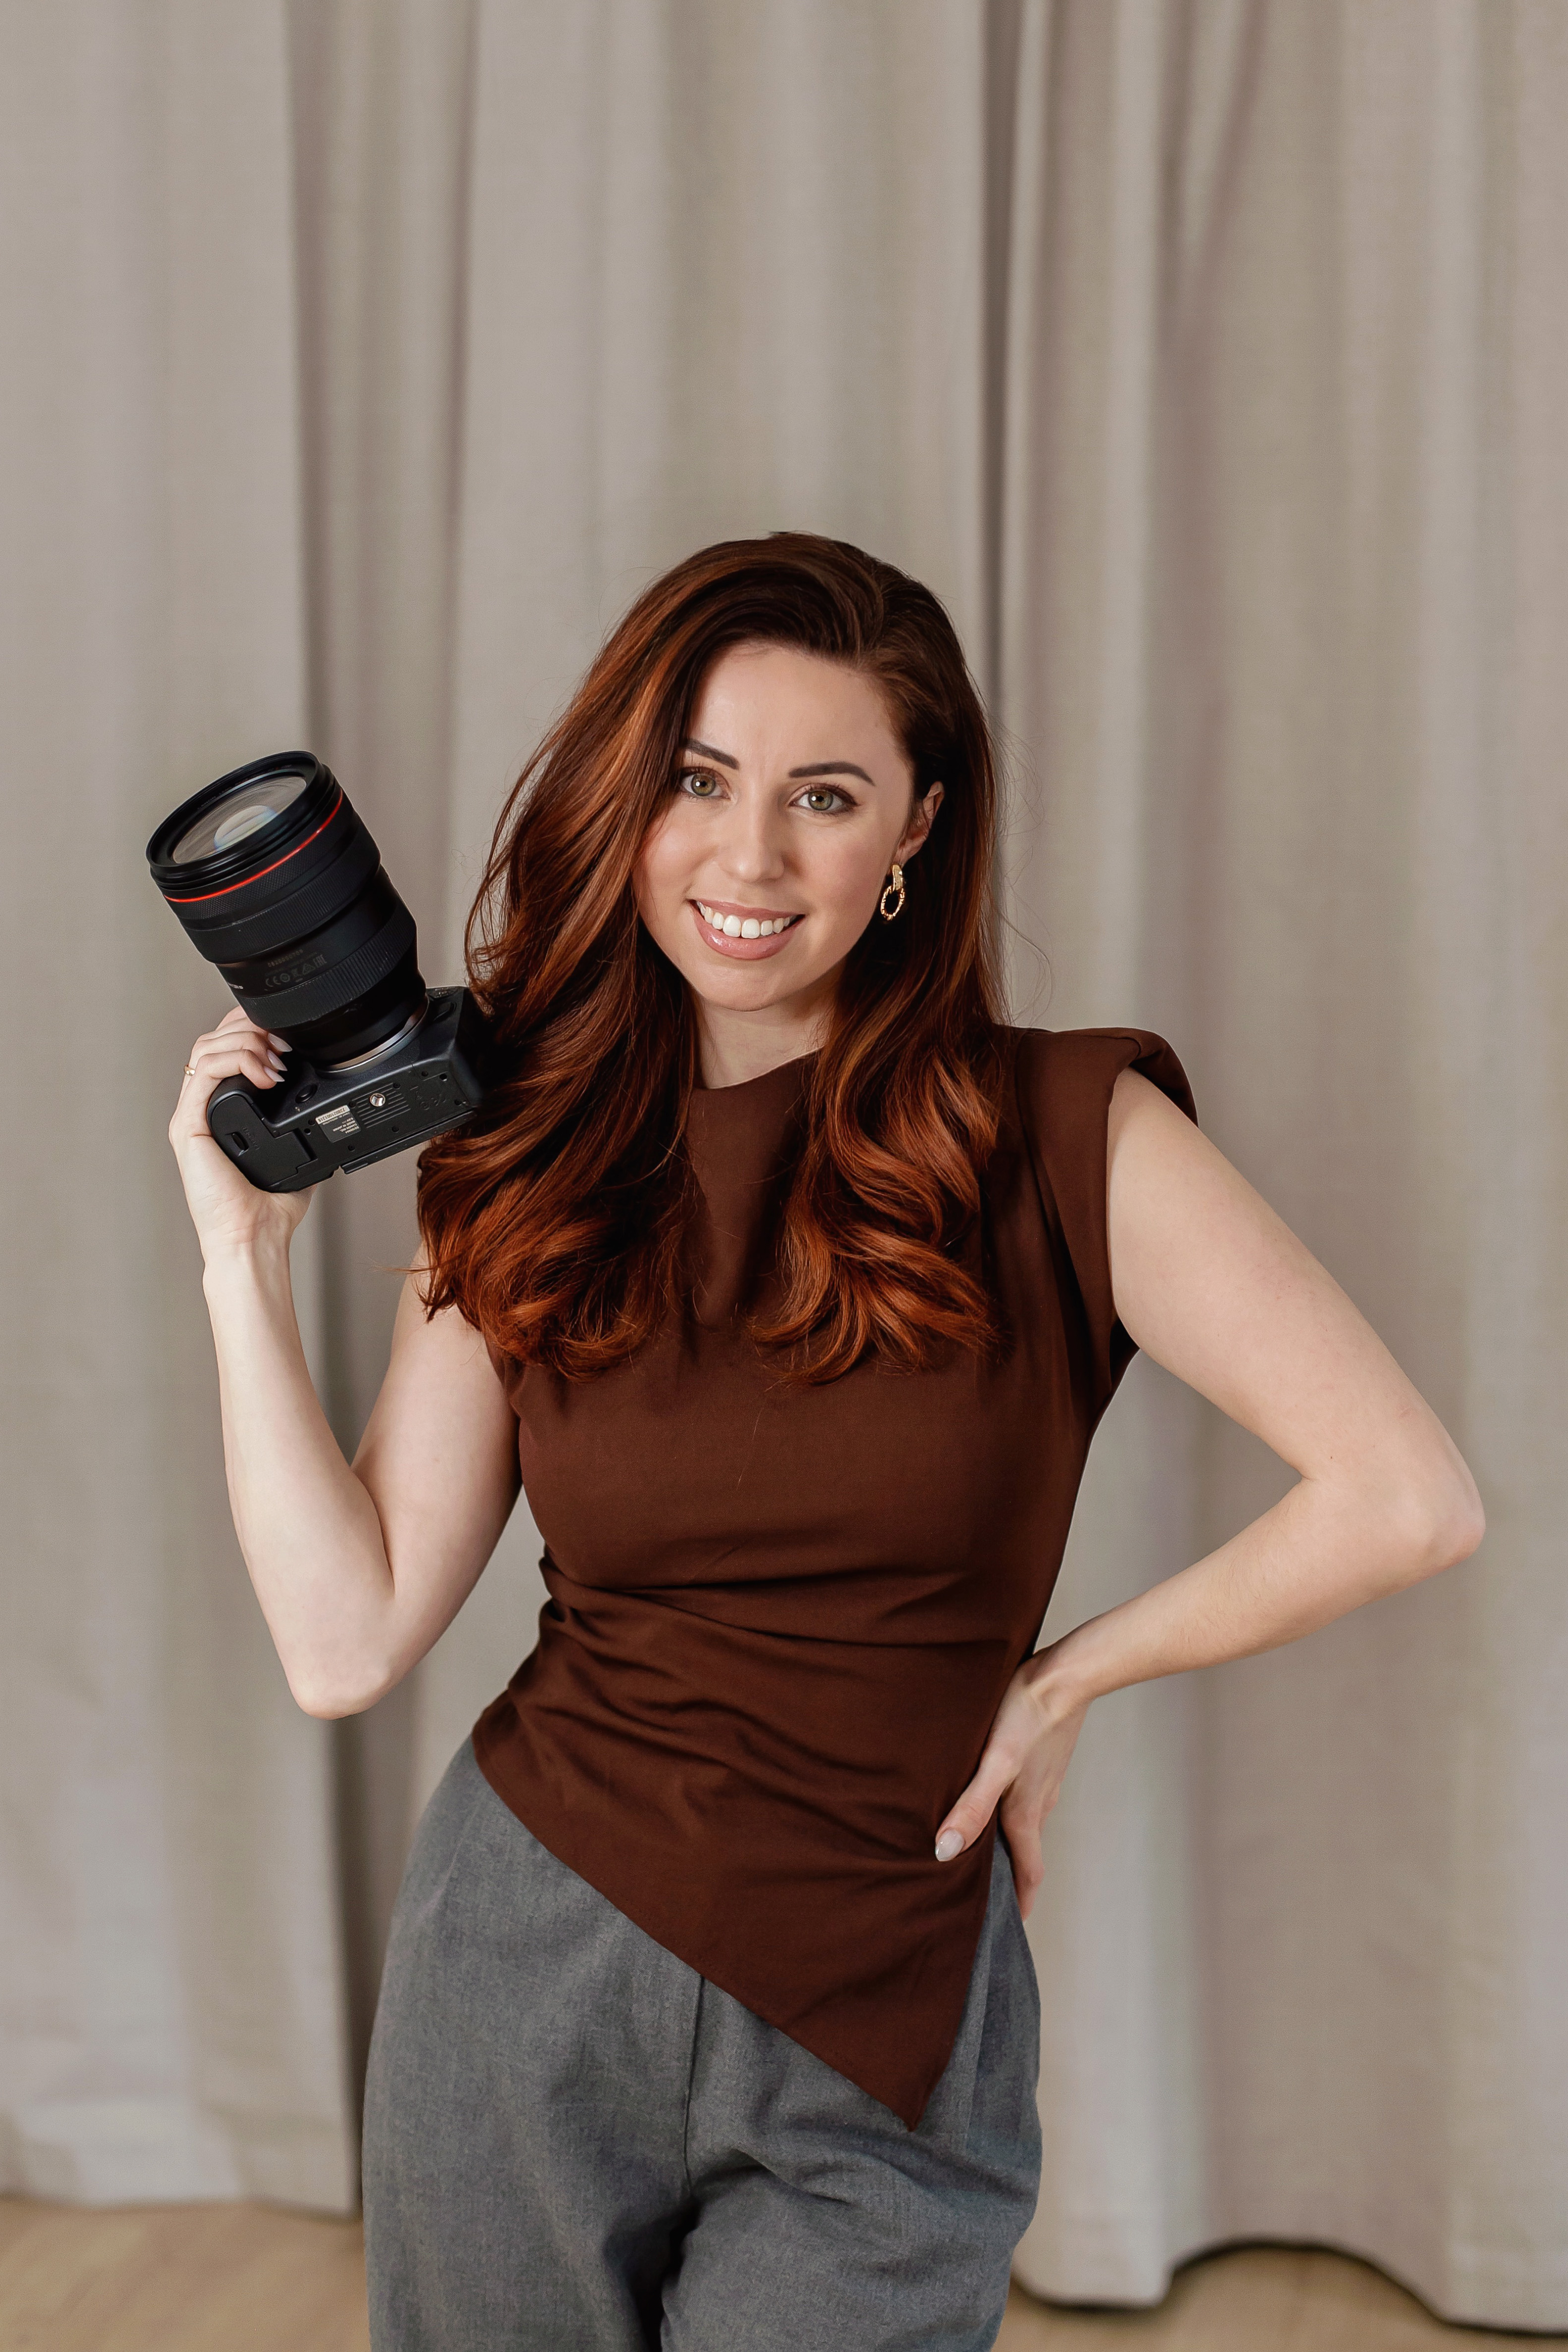
Yana Skakun
Photographer · England
Professional wedding, family and portrait photographer based in England. Passionate about capturing authentic emotions and timeless moments.
About Yana →how to choose photos wedding albumwedding album photo selectioncurating wedding albumbest wedding photos for album
Wedding Photography — Professional Photography in Cambridge & England
Yana Skakun is a professional photographer based in Cambridge, covering weddings, families, and portraits across England. Every session is personal — planned around your story, your people, and the moments that matter most. This guide — How to Choose Photos for Your Wedding Album — is part of the photography journal: practical, experience-based advice drawn from real sessions across England. Whether you arrived searching for how to choose photos wedding album or wedding album photo selection, the same care and attention shapes every session Yana photographs.
Professional Photography sessions are available year-round, with bookings open across Cambridge, Ely, Huntingdon, Peterborough, and further afield — East England, London, the Midlands, and beyond. If you have specific questions about curating wedding album, mention it in your enquiry. Get in touch through the contact form above to check availability and discuss your session. Enquiries are welcomed from anywhere in the UK.
Frequently Asked Questions
What camera settings should I use for outdoor portraits?+
For outdoor portraits, shoot in aperture priority mode. Use a wide aperture (f/1.8–f/2.8) to blur the background and isolate your subject. Keep ISO as low as possible in good light. In bright conditions, use a neutral density filter or switch to manual to avoid overexposure at wide apertures.
What is the golden hour in photography?+
Golden hour is the period roughly 30–60 minutes after sunrise and before sunset. The sun is low in the sky, producing warm, soft, directional light that flatters skin tones and creates beautiful long shadows. It's widely considered the best natural light for portrait and outdoor photography.
How do you get sharp photos in low light?+
In low light, increase your ISO (accepting some grain), use the widest aperture your lens allows, and slow your shutter speed to the slowest you can hand-hold without camera shake (roughly 1/focal length as a guide). Use image stabilisation if available, and consider a tripod for static subjects.
What is the rule of thirds in photography?+
The rule of thirds divides the frame into a 3×3 grid. Placing your subject on one of the four intersection points — rather than dead centre — creates a more dynamic, visually interesting composition. It's a guideline, not a rule: some of the most powerful images break it deliberately.
How do you edit photos to look professional?+
Professional editing starts with shooting in RAW format. In Lightroom or similar software, correct exposure, white balance, and contrast first. Recover shadow and highlight detail. Apply gentle colour grading for mood. Be conservative with skin retouching — the goal is natural enhancement, not transformation. Consistency across a set of images is what separates professional from amateur editing.
Continue Reading
Related Articles
Wedding Photography
Parent Albums: A Beautiful Thank-You Gift for Mums and Dads
5 min read · Read Article
Wedding Photography
Inside the Wedding Album Design Process
5 min read · Read Article
Wedding Photography
Wedding Album Types Explained: Flush Mount, Layflat, and Traditional
5 min read · Read Article
Get in Touch
Ready to Book Your Session?
Get in touch to discuss your vision — I'll reply within 24 hours.