Yana Skakun

Inside the Wedding Album Design Process
By Yana Skakun·25 July 2036·5 min read
Your wedding day produces hundreds of photographs, but the album is what endures. A well-designed wedding album is not simply a printed gallery — it is a considered narrative of your day, sequenced and laid out so that the emotion, the light, and the story of your wedding come through every time you open it. Understanding how that process works, from the first image selection to the moment the box arrives at your door, takes the mystery out of what can otherwise feel like a long wait for something you cannot quite picture yet.
Why the Album Still Matters in a Digital Age
It is a question worth addressing directly: with a full digital gallery to download, share, and revisit on any device, why invest in a printed album at all? The honest answer is that digital files and printed albums serve entirely different functions. A gallery is an archive. An album is an experience. When you open a well-bound book of photographs, the tactile quality of the paper, the weight of the cover, and the deliberate sequencing of images create something that a screen cannot replicate — a sense of occasion, of something worth pausing for.
I have photographed weddings at venues across Cambridgeshire and beyond — at Elton Hall, Anstey Hall, and Madingley Hall — and in every case, when couples return years later to show me their album, they describe it as one of the most-used objects in their home. It sits on a coffee table. It comes out when family visits. It is what their children and grandchildren will inherit. That longevity is something a JPEG file stored in the cloud cannot promise.
The album also does something important photographically: it forces curation. From 600 or 800 images, you and your photographer identify the 70 to 100 that tell the whole story. That act of selection is itself meaningful — it clarifies which moments mattered most and ensures those moments are treated with the permanence they deserve.
Step One: Image Selection and the Art of Curation
The first stage of the album design process is image selection, and for most couples it is the part they find most daunting. Sitting with a gallery of several hundred photographs and trying to narrow it down to the 80 or so that will fit a standard 30-spread album can feel impossible when every image carries a memory. My approach is to make this collaborative and structured rather than overwhelming.
I provide every couple with a selection guide that walks through the gallery in chronological sections: getting ready, the ceremony, portraits, the reception. Within each section, I suggest a rough image count that keeps the album balanced. Couples flag their chosen images using their gallery platform, and I review the selection before design begins — not to override choices, but to flag any technical duplicates, to suggest a chronological image that bridges two moments, or to quietly advocate for a quiet documentary shot that I know will mean more in ten years than it does right now.
In my experience, most couples complete their selection within a week once they set aside a focused evening to do it together. Doing it jointly, rather than one partner making all the decisions, also tends to produce a more balanced result — you each see the day slightly differently, and the album benefits from both perspectives.
Step Two: The Design Process and What Goes Into Each Spread
Once your image selection is confirmed, album design begins. This is the stage that happens largely out of sight for the couple, but it is where the bulk of the creative work takes place. Using professional album design software, each of the 30 spreads is considered individually: which images work together, whether a moment calls for a full-bleed panoramic layout or a tighter arrangement with breathing room, where the white space should live, and how the pacing of the book as a whole moves from the intimacy of getting ready through to the energy of the evening.
My design philosophy is restrained. The layout should never compete with the photographs. I avoid heavy graphic treatments, decorative borders, and anything that would date the album in five years. Clean, considered layouts with generous margins and occasional full-bleed spreads for the strongest images tend to produce albums that feel timeless — which is exactly what a wedding album should be.
Design typically takes 7 to 10 working days. You will receive a PDF proof of every spread, numbered and sequenced as they will appear in the finished book. This is your chance to see the album as a whole for the first time, and most couples find it genuinely moving to see the day laid out in order after months of anticipating the gallery.
A note on album sizing
The most popular album size for UK weddings is 30cm × 30cm (12" square). It is large enough to do justice to landscape ceremony shots and full-length portraits, but not so large that it becomes unwieldy. If your venue had particularly dramatic architecture — think the chapel at King's College or the galleries at Kettle's Yard — a landscape 35cm × 25cm format can work beautifully for those wide establishing shots. I always discuss sizing options during the booking process so there are no surprises. Get in touch to ask about album options before your wedding day.
Step Three: Review, Revisions, and Approval
After you receive your PDF proof, you enter the review stage. This is intentionally unhurried — I ask couples to sit with the proof for a day or two before sending feedback, because first impressions sometimes soften on reflection and you want your revision requests to reflect considered preferences rather than immediate reactions. That said, most couples come back within a few days with clear, specific notes.
Two rounds of revisions are included as standard. Typical revision requests include swapping one image for another, reordering a pair of spreads, removing a section that feels repetitive with another, or adjusting the crop on a specific image. Occasionally couples want to add a spread — usually because they had forgotten a moment during initial selection and want to include it. This can almost always be accommodated by minor restructuring elsewhere. What rarely happens is a complete redesign, because the image selection stage has already done the important curatorial work.
Once both of you are happy with the design and have given written approval, the order is placed with the manufacturer. From that point, the design is locked — changes cannot be made after the order has been submitted, so the approval stage is important to take seriously. I always send a final confirmation email summarising exactly what has been approved before placing the order.
Step Four: Production and the Wait Worth Having
Professional wedding albums for the UK market are predominantly manufactured in Europe, with Italy remaining the world centre of fine photobook production. The factories that produce albums for professional photographers have decades of experience with archival paper stocks, lay-flat binding techniques, and cover materials — from genuine leather to linen to vegan alternatives — that simply are not available through consumer print services. The difference in quality when you hold the finished object is immediately apparent.
Production takes 4 to 6 weeks from order placement. This is not a delay that can be shortened — the manufacturing process involves multiple stages, each of which takes time to do properly. The pages are printed on archival lustre or fine art matte paper depending on the finish chosen, trimmed to exact size, and assembled by hand before the cover is attached and the album is inspected for quality. Rushing any stage would compromise the result.
The album arrives directly to you by tracked courier, packaged in a presentation box with a protective sleeve. Most album packages include a parent insert set — smaller duplicate albums, typically 20cm square, containing a curated selection of 20 to 30 images — which are popular with parents and in-laws who want their own copy of the day. These are ordered and produced simultaneously with the main album and arrive together.
What to Expect From Start to Finish
In total, from the point your wedding gallery is delivered to the point your album arrives, the timeline typically runs between 10 and 14 weeks. Image selection takes one to two weeks. Design takes one to two weeks. Review and revisions take one to two weeks. Production takes four to six weeks. This is why I always encourage couples to begin the album process promptly after their gallery is delivered rather than setting it aside for a quieter moment — the sooner it begins, the sooner you are holding it.
Couples who approach the album as a separate project, with its own dedicated attention, tend to be the most satisfied with the result. Those who leave it until six or twelve months after the wedding occasionally find that the emotional immediacy of the day has faded slightly, which can make selection feel more abstract. The sweet spot is starting your selection within four to six weeks of receiving your gallery, when the images still feel vivid and recent.
I also recommend involving your partner at every stage, even if one of you is more decisive than the other. The album is a shared object, and it should reflect both of your experiences of the day. Some of the most interesting creative decisions come from one partner advocating for a quiet moment the other had forgotten — a documentary shot of a conversation, a detail from the table setting, a stolen glance during the speeches — that ends up becoming one of the most meaningful images in the finished book.
Caring for Your Album Over the Years
A well-made wedding album, properly cared for, will last a lifetime. Archival paper and UV-resistant inks mean the images will not fade under normal indoor light conditions. The cover materials are selected for durability. The binding is designed to be opened flat repeatedly without cracking or loosening. That said, a few basic habits will extend the album's life considerably.
Store the album in its presentation box when not in use, away from direct sunlight and significant humidity variations. Avoid storing it flat with heavy objects on top, which can compress the binding over time. If you live in a particularly humid part of the country — and Cambridge, despite being in East Anglia, has its own damp seasons — a cool, dry storage location is preferable to an attic or garage. Handle the album with clean, dry hands, and avoid touching the page surfaces directly where possible; the oils in fingertips can leave marks over time on certain paper finishes.
These are small considerations for an object that will, if you care for it, be as beautiful in thirty years as it is the day it arrives. That is the promise of a properly made wedding album — and the reason it remains worth investing in, even in a world where every image already exists somewhere in a digital archive.
Ask about album options for your wedding
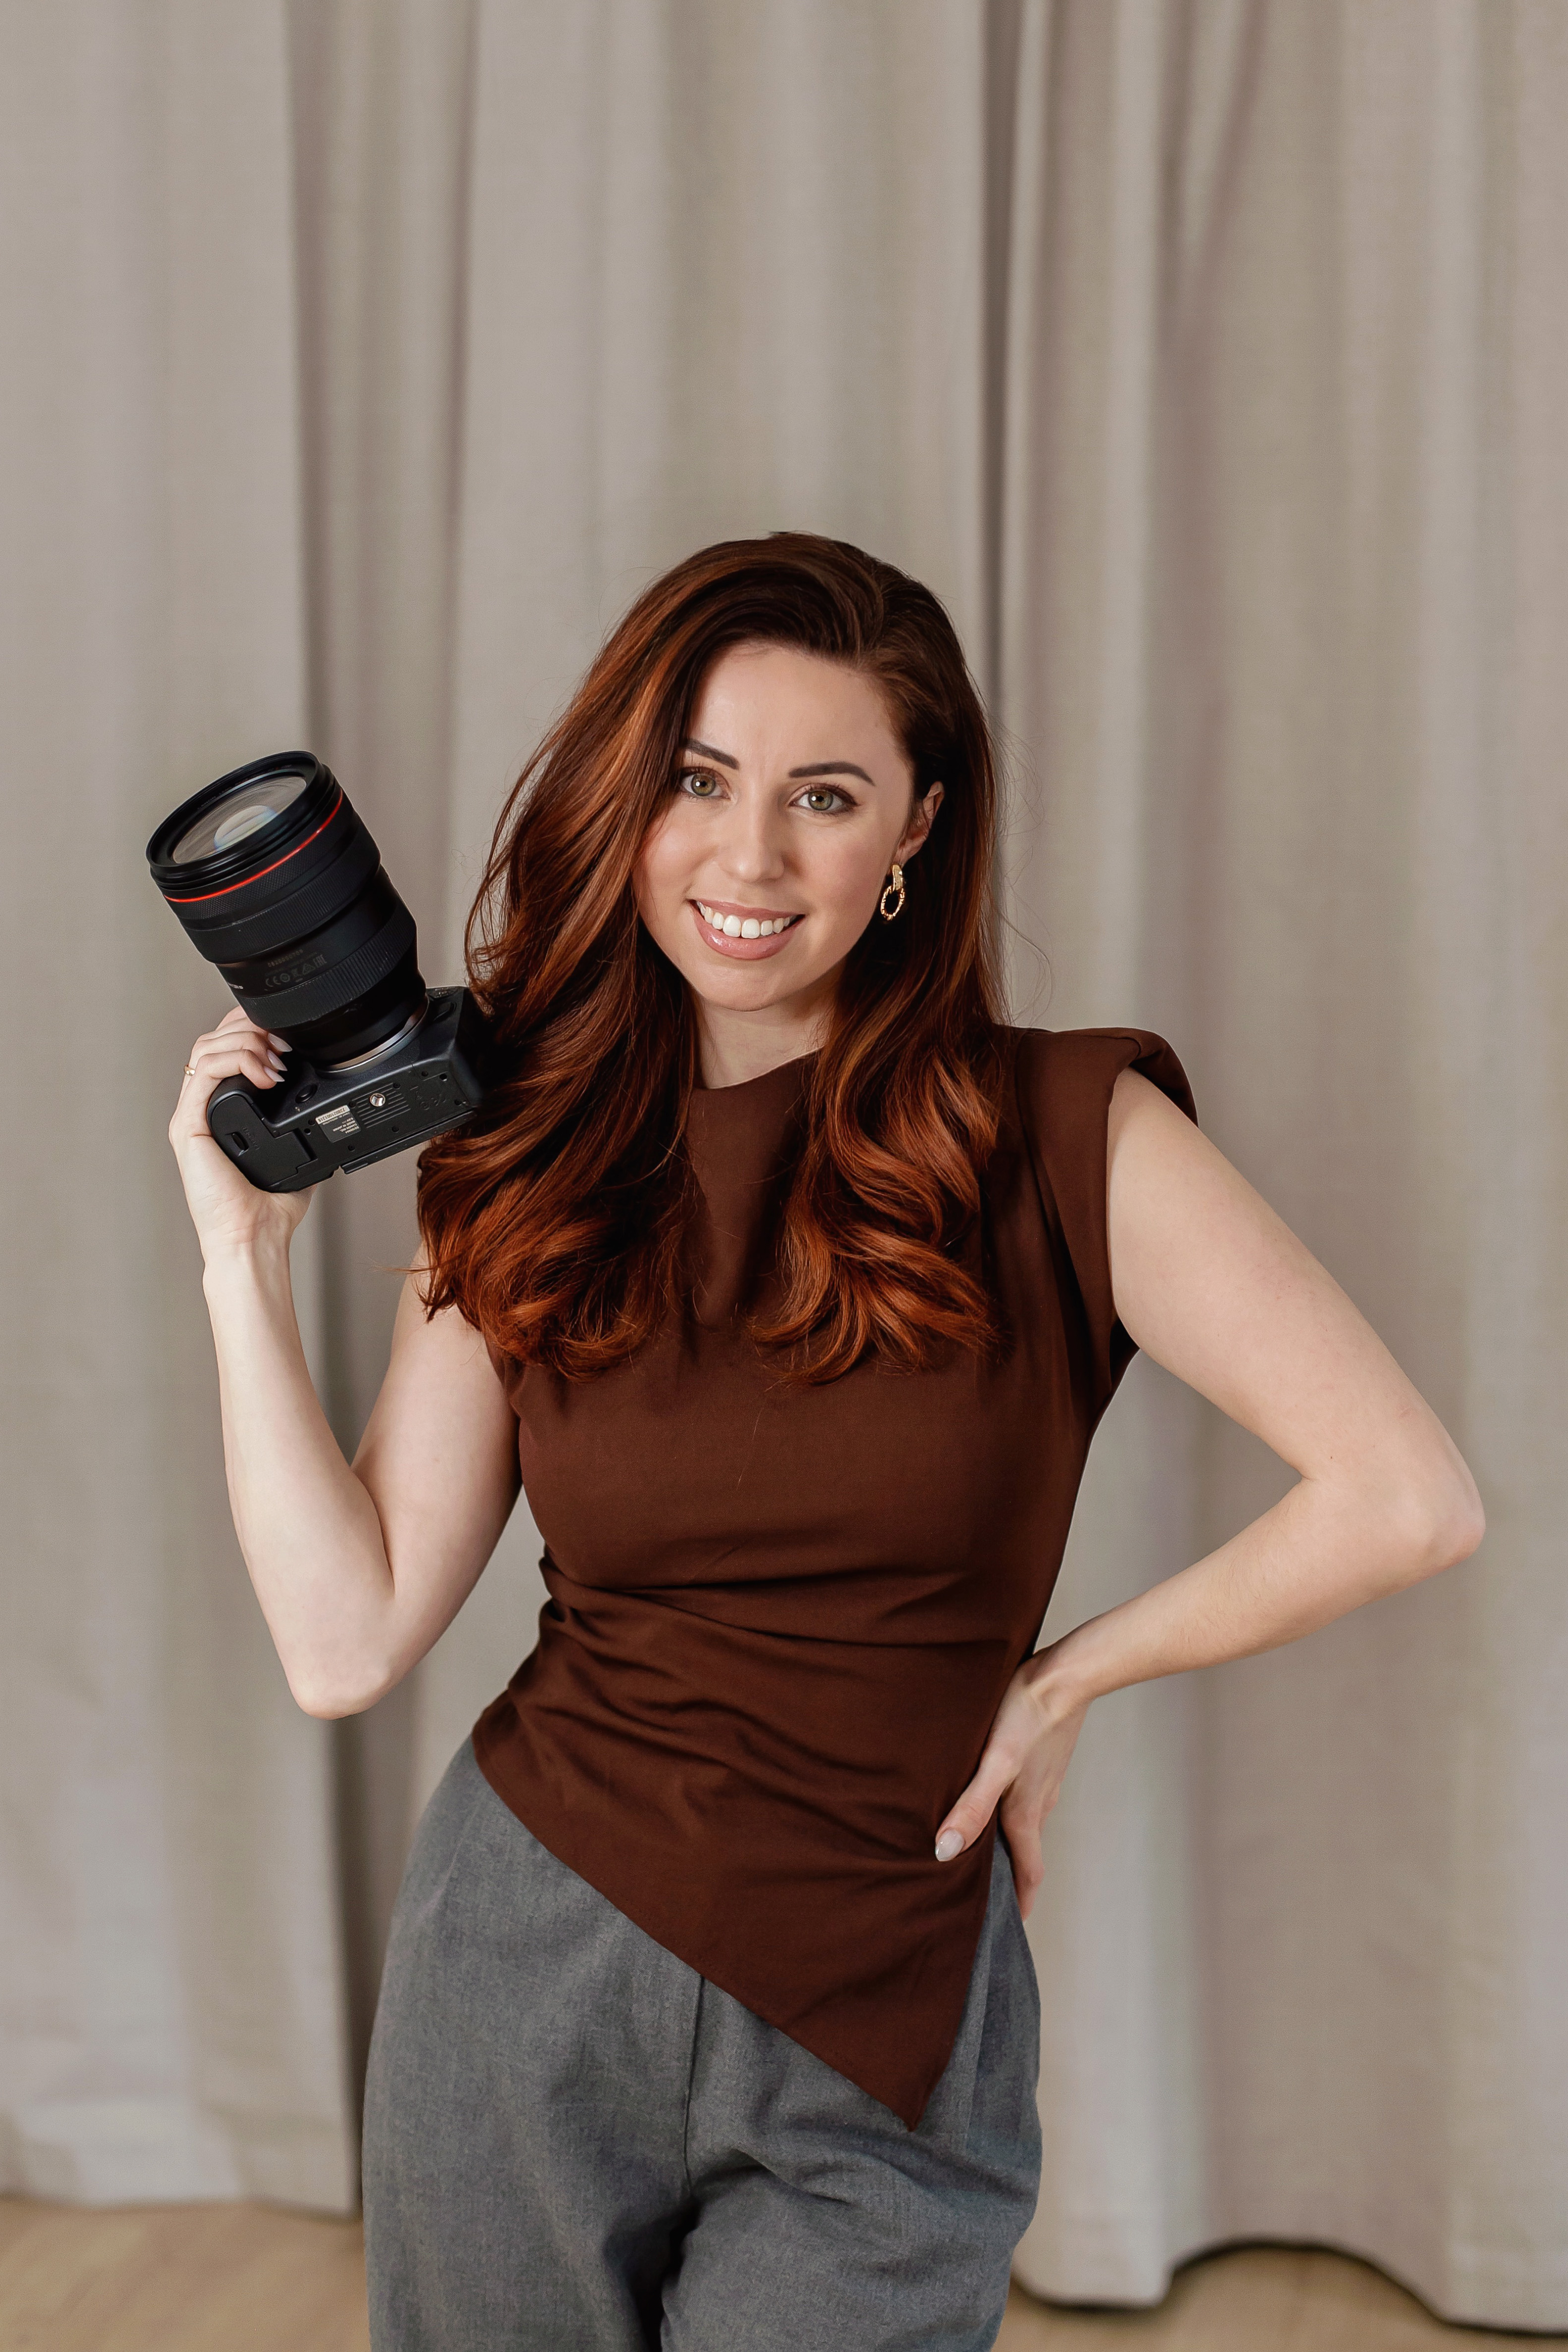
Yana Skakun
Photographer · England
Professional wedding, family and portrait photographer based in England. Passionate about capturing authentic emotions and timeless moments.
About Yana →wedding album design processhow wedding album is designedalbum design stageswedding album timeline
Wedding Photography — Professional Photography in Cambridge & England
Yana Skakun is a professional photographer based in Cambridge, covering weddings, families, and portraits across England. Every session is personal — planned around your story, your people, and the moments that matter most. This guide — Inside the Wedding Album Design Process — is part of the photography journal: practical, experience-based advice drawn from real sessions across England. Whether you arrived searching for wedding album design process or how wedding album is designed, the same care and attention shapes every session Yana photographs.
Professional Photography sessions are available year-round, with bookings open across Cambridge, Ely, Huntingdon, Peterborough, and further afield — East England, London, the Midlands, and beyond. If you have specific questions about album design stages, mention it in your enquiry. Get in touch through the contact form above to check availability and discuss your session. Enquiries are welcomed from anywhere in the UK.
Frequently Asked Questions
What camera settings should I use for outdoor portraits?+
For outdoor portraits, shoot in aperture priority mode. Use a wide aperture (f/1.8–f/2.8) to blur the background and isolate your subject. Keep ISO as low as possible in good light. In bright conditions, use a neutral density filter or switch to manual to avoid overexposure at wide apertures.
What is the golden hour in photography?+
Golden hour is the period roughly 30–60 minutes after sunrise and before sunset. The sun is low in the sky, producing warm, soft, directional light that flatters skin tones and creates beautiful long shadows. It's widely considered the best natural light for portrait and outdoor photography.
How do you get sharp photos in low light?+
In low light, increase your ISO (accepting some grain), use the widest aperture your lens allows, and slow your shutter speed to the slowest you can hand-hold without camera shake (roughly 1/focal length as a guide). Use image stabilisation if available, and consider a tripod for static subjects.
What is the rule of thirds in photography?+
The rule of thirds divides the frame into a 3×3 grid. Placing your subject on one of the four intersection points — rather than dead centre — creates a more dynamic, visually interesting composition. It's a guideline, not a rule: some of the most powerful images break it deliberately.
How do you edit photos to look professional?+
Professional editing starts with shooting in RAW format. In Lightroom or similar software, correct exposure, white balance, and contrast first. Recover shadow and highlight detail. Apply gentle colour grading for mood. Be conservative with skin retouching — the goal is natural enhancement, not transformation. Consistency across a set of images is what separates professional from amateur editing.
Continue Reading
Related Articles
Wedding Photography
Parent Albums: A Beautiful Thank-You Gift for Mums and Dads
5 min read · Read Article
Wedding Photography
Wedding Album Types Explained: Flush Mount, Layflat, and Traditional
5 min read · Read Article
Wedding Photography
How to Choose Photos for Your Wedding Album
5 min read · Read Article
Get in Touch
Ready to Book Your Session?
Get in touch to discuss your vision — I'll reply within 24 hours.